Undertaking a DIY campervan conversion project is one of the coolest, rewarding and exhausting things we’ve ever done!
We spent 2500 hours converting our van into a camper and have lived in her ever since.
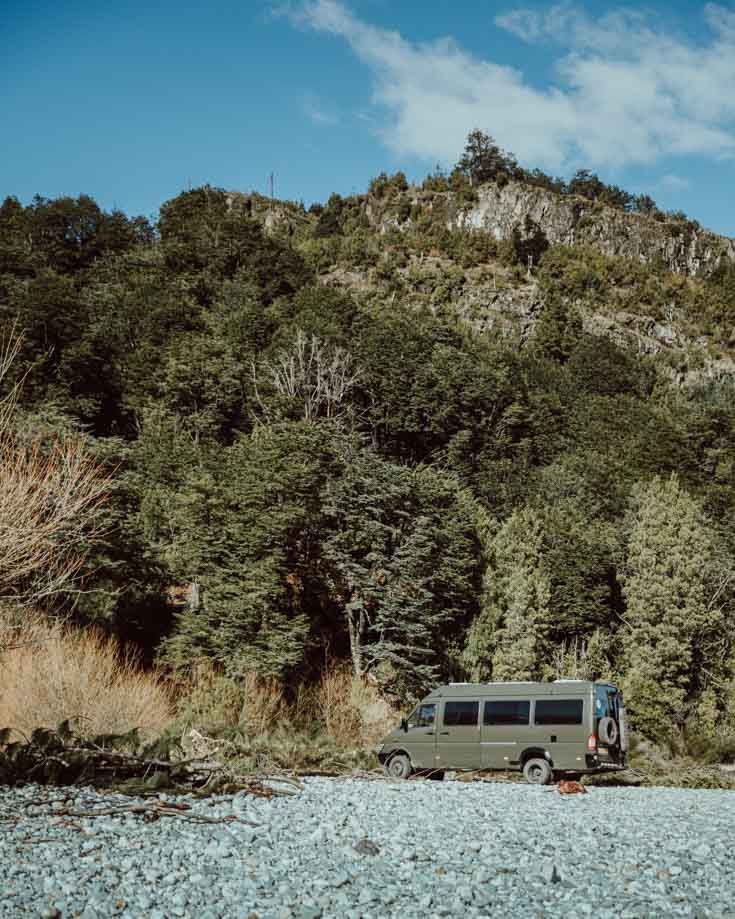
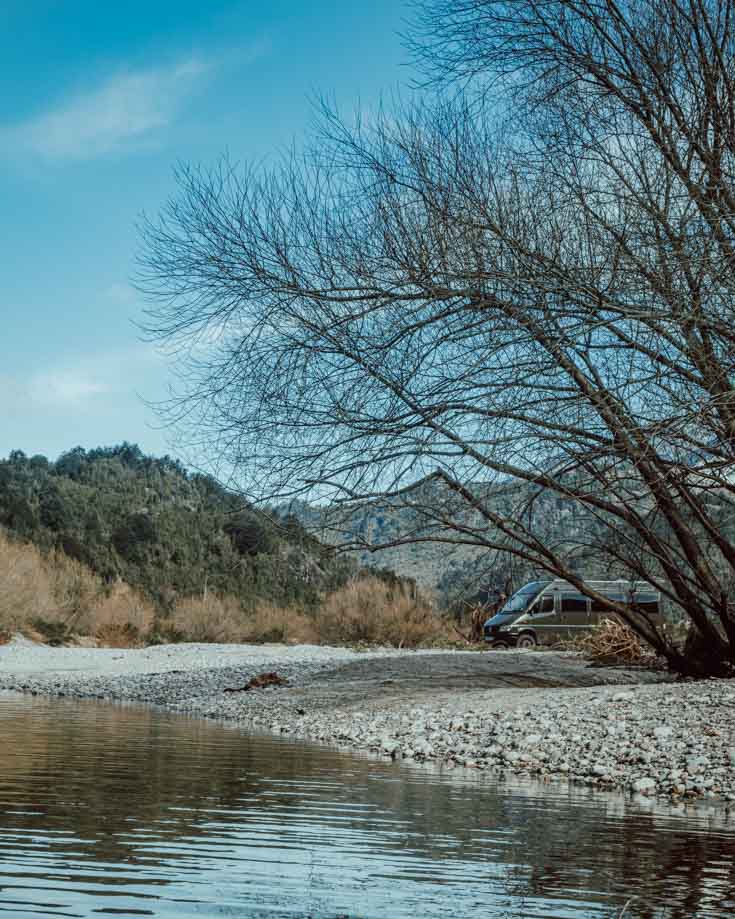
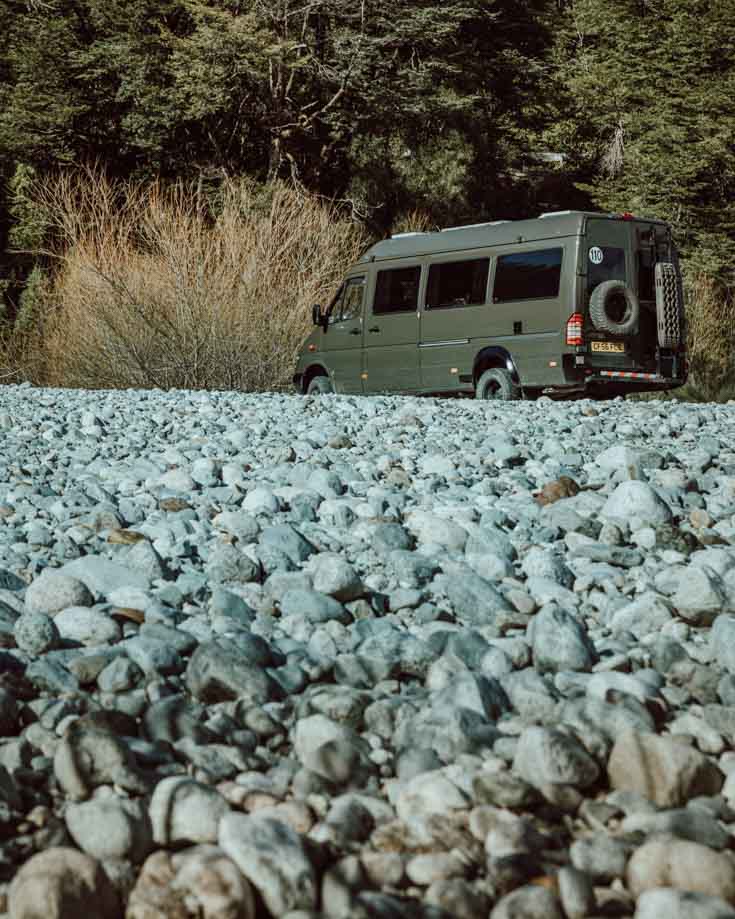
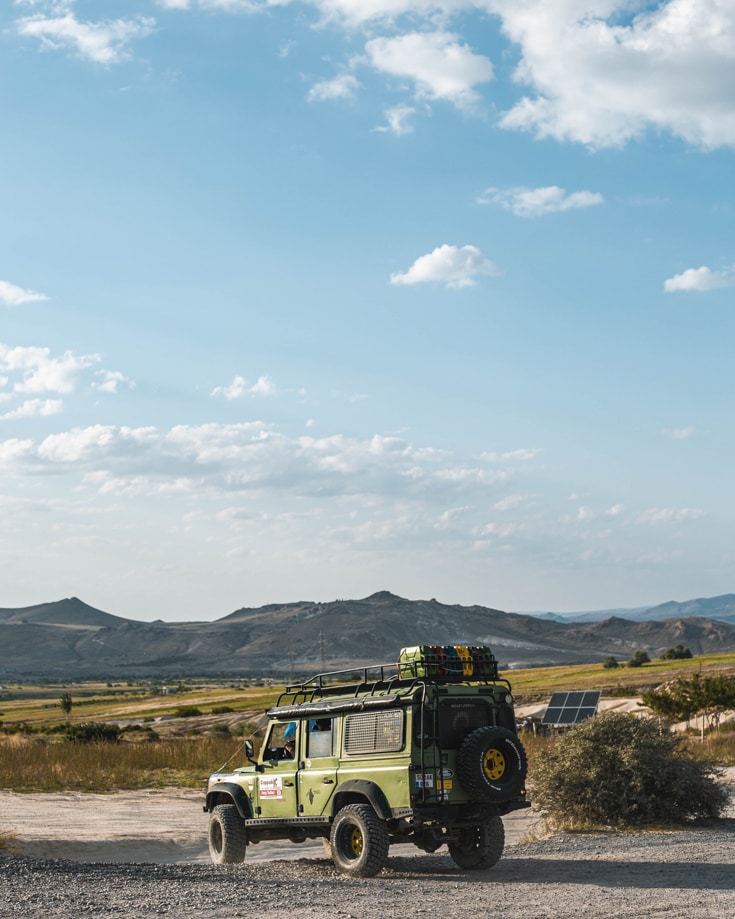
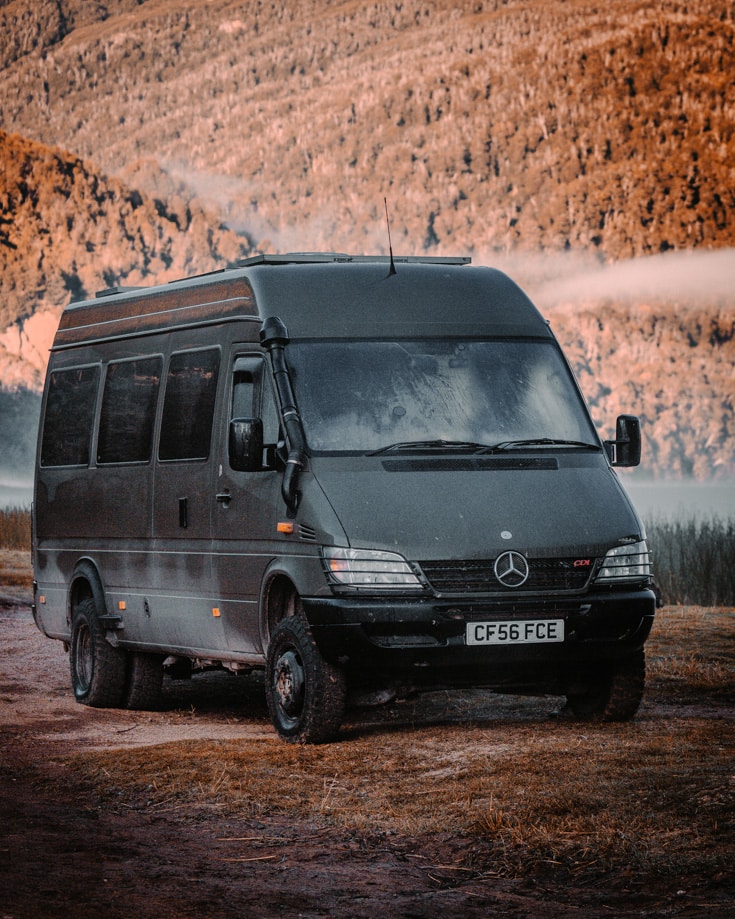
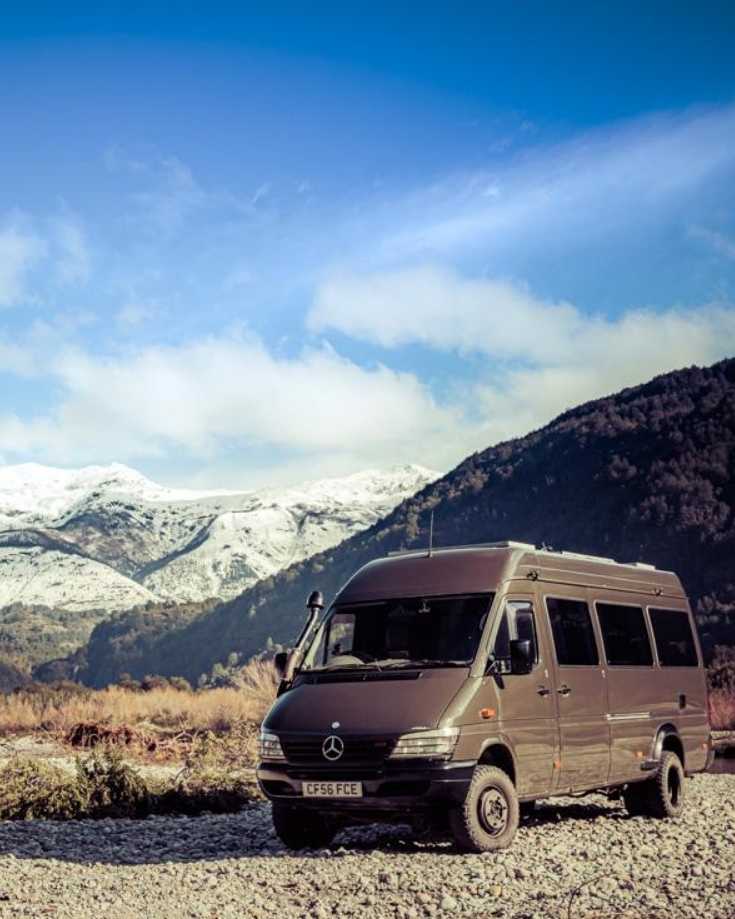
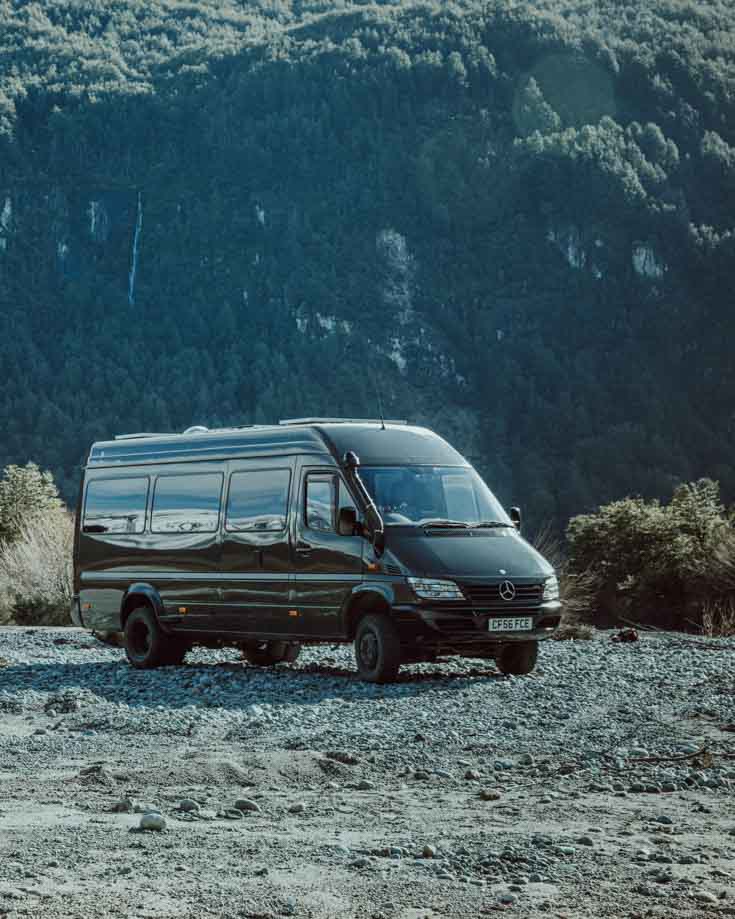
She’s a 2005 Mercedes Sprinter 411cdi.
Her long wheel base give us enough space for an onboard bathroom and with her 4×4 capability we don’t need to worry too much about the driving conditions.
We learned so much about construction, plumbing and electrical work.
We figured out the best order to do the build in and pitfalls to avoid along the way.
We’ve managed to break the whole process down into 10 steps. We wish we could say they’re all simple but they’re not.
Some are easy. Do plenty of research, don’t let your heart rule your head and figure out what’s best for you.
Other steps are technical, challenging and need a level of expertise.
But once complete, you’ll look back on your own build with nothing but pride on a job well done.
Here’s our 10 step guide on how to convert a van into a camper and get road trip ready.
Before you start your DIY Campervan Conversion
A campervan conversion is a big project to undertake.
Even if you plan to complete the build on a tight budget, in a short timescale and with a basic set up it’s going to be a pretty intense and exciting time.
Once the build gets underway, keeping the momentum going will help get the build done and get you closer to your camper travels or van life dreams.
Here’s a few hints and tips before you get started to help start your project on the right footing.
Where will you do the conversion?
A conversion takes up a lot of space with the van, the tools and the parts you’ll take in and out of the vehicle.
Do you have a place to store the vehicle where you can work on it with an electrical supply?
It’s great if you have space at home on a drive or garage where you don’t need to waste time commuting and can spend long days (and nights) on the job.
Do you have the time to commit to the conversion?
A basic and simple conversion can be done super fast. Others take an age.
And no matter how long you think it’ll take, it’s bound to take longer.
We spent a total of 2500 hours on our 4×4 Sprinter van conversion.
Much longer than we had anticipated and we were fortunate we had the time we could dedicate to completing the job.
Tools & Skills
Do you know what tools you need throughout the build and do you already own them?
If not, can your borrow them from friends or family?
As for the skills needed, with good all round DIY skills, you’ll be able to most jobs on the conversion yourself.
But some areas require expertise you may not have. Have you identified someone to help or outsource these jobs to?
Do you have a good idea of your budget?
And importantly, is your budget realistic?
Keeping a tight rein on the budget is critical so you don’t spend more than you want to.
Believe us, it’s easy to get carried away with all the accessories and ideas out there.
Try to keep it real and have a detailed budget outlined before you start to help keep you on track.
Also worth noting, Ebay is a great marketplace for anything you strip out of your base vehicle.
When we bought our Sprinter van, she was a minibus.
We sold the 14 seats we removed for a few hundred pounds. Every bit helps with the budget.
Rent a camper before you buy
A campervan or RV rental is an ideal way to help you figure out if a campervan is for you.
Not only can you take a break without hefty hotel bills, but you can get a taste of what travelling in a van is really like.
But if you’ve already decided to go ahead, we recommend hiring a campervan just before you begin your own conversion.
Why?
Let’s say you know what van you want and even the layout.
You only want to convert it once, so testing out your layout and van of choice before you commit is an ideal way of having confidence in your plans.
Luckily, Outdoorsy has the answer.
It’s a bit like Airbnb but for campervans and RVs. RV owners list their vehicles on the platform and you can browse for one to suit.
We recommend looking for an RV preferably the same size as the one you want to buy and as close to the layout you’ve designed.
Then spend at least a weekend living in it.
Figure out what works well for you and what doesn’t, using it to fine tune your own designs.
Click this link to begin browsing for an RV rental in your area with Outdoorsy and use MOWGLI50 for $50 off your first rental
DIY Campervan Conversion Plans
Before we launch into our 10 step guide on how to convert a van into a camper, here’s some quick links to help you with your detailed DIY campervan conversion plans.
Everything you need to know about campervan electrics. Now available in ebook and paperback!
Learn how to design, size, install and troubleshoot your camper’s electrical system.
10 Steps to a Perfect DIY Campervan Conversion
DIY campervan conversions plans can become overwhelming.
Knowing where to start and having confidence in your decisions can be unnerving.
We understand it. Building your home on wheels can be daunting.
To help you through it, we’ve broken the our entire DIY campervan conversion project down into 10 steps.
They’re not all simple. Neither are they necessarily fast. But they are thorough.
Follow theses steps and soon you’ll have converted your can into a camper and be ready to hit the open road.
Choosing the best van for a camper conversion can get tricky.
It’s a critical decision to a successful van build and to how the van works for you.
It needs to suit your living needs, travel style and budget too.
Before buying a campervan, decide on the best van to live in for you. We all have our own reasons for buying a van.
Whether you want to live in a van for financial reasons, weekend getaways or campervan travels around the world, choosing the perfect home on wheels is the first big decision towards your new van life.
Living in a van isn’t the same for everyone. Some van lifers chase their passions, like surfing, cycling, kitesurfing, photography or something else.
Some travel solo or as a couple, while others live in a van with their spouse, kids and dog.
So there’s no one size fits all.
In this post, we’ll take you through everything you need to consider to help you decide the best van for your camper conversion.
We’ll help you think about your van lifestyle so you can identify the best type of vehicle for you.
And finally, we’ll cover the types of vans often used for camper conversions and the pros and cons of each. This should allow you to write up a short list of ideal options.
Once you’ve decided on a short list of makes and models, buying the right van for you to convert or even a pre-loved camper, will be much easier.
Buying a van is one of the most nerve wrecking steps of the whole DIY camper van conversion process.
It’s the first step in converting your dreams into a reality, and the first time you’ll spend any of your hard earned cash.
There’s lots of pitfalls to avoid so you don’t end up with a rust bucket or something not mechanically sound.
Finding problems with a van after you’ve completed the conversion would be soul destroying.
This guide to buying a van will help you avoid the common pitfalls. If you’re thinking of buy a pre-loved camper already kitted out, it takes you through every aspect of a vehicle inspection.
We’ve included a handy checklist you can download and refer to it when you see the van.
The key is to not get excited. It’s easy to do but don’t let the excitement blind you to potential problems.
It’s rare to find a used van with no issues. The aim is to try to find any major issues that could cost a lot of time and money to fix.
You can choose to walk away or negotiate a fair price. Either way, you’ll know what you’re buying and minimise the risk of unexpected and costly surprises further down the road.
It’s worth remembering your local authority conversion regulations at this stage too.
If you’re buying a van in the UK and want to change the body type after completing the conversion, familiarise yourself with the DVLA regulations.
And don’t forget about your campervan insurance. A conversion may add value to the base vehicle so you might want to insure your growing investment.
There’s DIY campervan conversion insurance policies to cover this. Buy the policy when you buy the van.
It’s so exciting! You’ve bought your van and a step closer to realising your dream or living or travelling in a campervan.
Now it’s time to see what you’ve got, plan out your layout and most importantly, make sure your base vehicle has everything you need.
If your conversion is starting from scratch, carry out any repairs to any mechanical issues.
Then strip out the van and clean it thoroughly.
Draw up plans for your layout, storage and bed design.
Mark out zones in the empty van with masking tape. Make sure you can move around and everything you intend to install will fit.
Measure, measure measure!
If you need to do any body work, now is the time for rust repairs, cutting holes for air vents and fill lines, respray and fit the awning.
Consider how you plan to use your converted van. If you never intend to drive off a highway or black top road, you may not need to make any modifications at all.
But if you expect to drive in dusty conditions, maybe you need to fit a snorkel.
What about the best tyres for expected driving conditions or suspension upgrades?
And you may add a lot of weight to your van throughout the conversion with water tanks and furniture.
Extra weight affects handling of the vehicle if it’s not fitted in the best place.
This post talks about everything related to modifying your camper.
We’ve done a lot of off-road driving in the past and much of the advice comes from the knowledge we learnt over the years.
Even if you don’t intend to drive off-road, things like balancing your camper’s weight, fitting the right tyres and not over modifying it are all aspects to keep in mind throughout your build.
A perfect campervan electrical system for you will keep you living off grid for longer, save money by avoiding campsite fees and make sure all your appliances have enough power to keep you living in comfort.
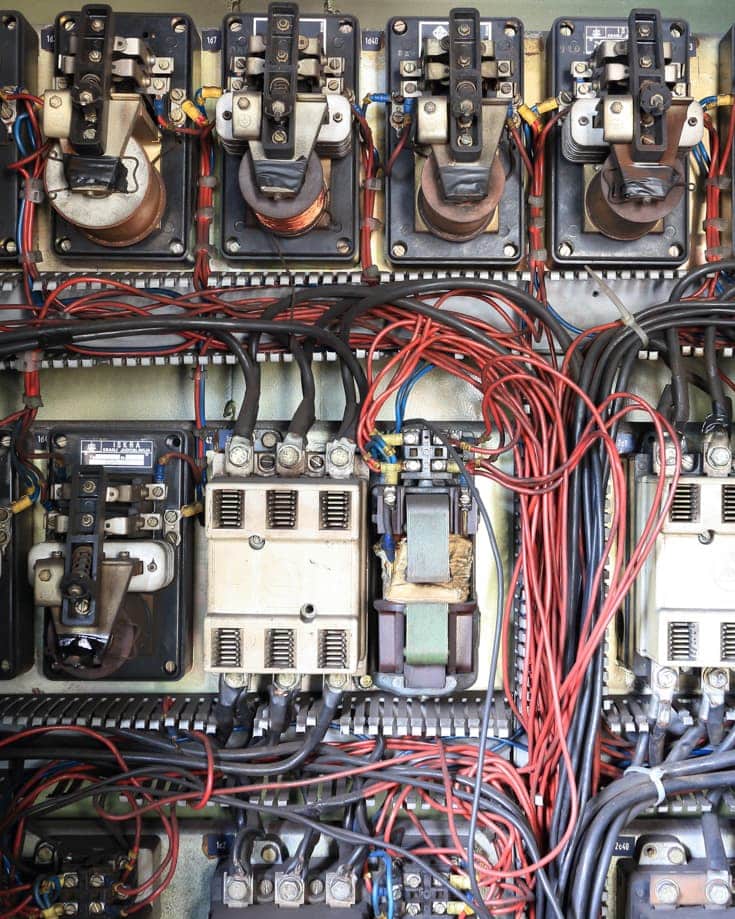
If you have the skills, you can do the entire electrical system your self.
We did. We fitted batteries to power all our campervan appliances like the fridge, fire up our diesel cooker and heating, charge our laptops and camera batteries and much more.
The batteries are charged when we drive, by our solar panels and we can top them up when we have a hook up facility too.
But even without the skills, if you intend to outsource the job understanding the theory behind it will help you spec out the right size electrical system and ask your electrical installer the right questions.
The time to install your electrics is early in the conversion project.
Laying wires and cables and fitting solar panels and batteries is all much easier in an empty van.
You can run wires behind your insulation and lining for a tidy finish.
The wire runs are then ready so you can plug in appliances as the build progresses.
This guide explains everything you need to know about installing campervan electrics.
The next step in converting a van into a camper is the insulation, ventilation and lining.
As with much of your conversion, getting the insulation and ventilation right up front is critical.
It’s pretty tough to retro fit better insulation after your conversion is complete. You’d need to start ripping out fittings and lining, something best avoided.
Good insulation combined with excellent ventilation is the recipe for a healthy, warm, dry camper.
This is how you stop condensation in a van, keep mould out and fresh air flowing.
There’s no real formula for calculating how much insulation you need.
Consider the conditions you’ll travel in - winter travel need more insulation, humidity needs more ventilation.
And contrary to a lot of other advice you read, we recommend staying well away from vapour barriers.
They just don’t let the van breathe, making the situation it’s meant to avoid potentially worse.
For full time van living, the best campervan ventilation includes one (if not two) roof vents.
Hopefully, you’ve cut the holes needed in Step 3 and lay the wiring in Step 4.
Open doors, windows and fans all help with ventilation too.
Dry heating and cooking techniques help prevent additional condensation causing water vapour too.
Consider diesel heating or vented propane heaters. Keep doors and windows open while cooking indoors and use a pressure cooker as much as possible.
Anything to minimise water and steam inside the van will help stop condensation.
Once the ventilation and insulation is fully installed, you can line the interior to your own taste.
The Bohemian sauna look is all the rage on Instagram.
Ply lining covered with a stretch carpet is a popular option too.
This is how we covered our interior but we’re considering changing it to a wipeable, vinyl or faux leather covering.
It’s time to install some amenities.
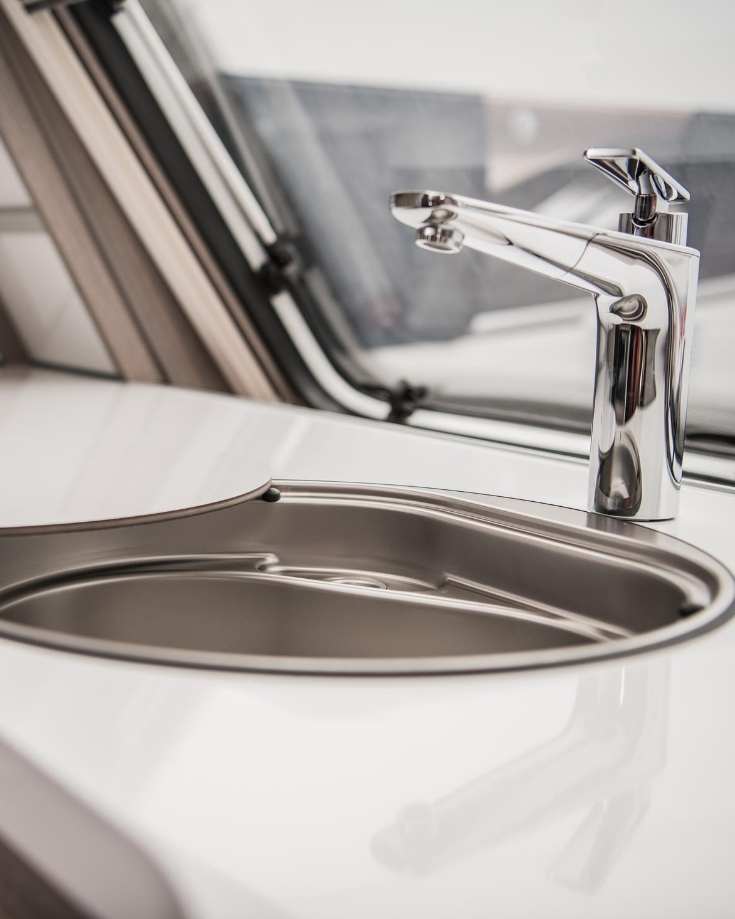
We recommend starting with the water system because you need to lay pipes and fit a pump.
Doing these jobs in an empty van is easier than working around fitted cupboards and beds.
Firstly, decide on how much water to carry, how often and where you can fill up.
If you don’t intend to live off grid much and can rely on refilling at campgrounds, small tanks are probably all you need.
Larger tanks help extend off grid living but it’s a compromise between weight, storage space and quantity.
A simple solution of a couple of jerry cans simply installed below a sink maybe ideal for small vans or if you don’t intend to live in the van full time.
A more sophisticated set up of fitted tanks takes more effort and cost during the build stage but offers more convenience when living in the converted van.
Don’t forget, every litre of water weight 1kg so make sure to consider the weight implications.
Storing it low down and close to the centre of the van will minimise any impact to the vehicle’s handling.
We carry 170 litres of water in our Sprinter van conversion, including 20 litres of hot water.
If you want hot water in your van, install your system at the same time as the cold water set up.
There’s a few different methods of heating hot water in campervans. Simple solar heating bags are a low cost option though again, not entirely practical for long term van living.
This post covers this step of your DIY campervan conversion including water pumps, water tanks and how to get hot water.
Now if you don’t expect to travel anywhere remotely chilly, you may not even need any heating in your cab.
A well insulated van, cosy soft furnishings, appropriate clothes and bedding might be enough to keep you comfortable.
But for living in a van long term, the chances of keeping to summer months only begin to fade.
And if winter travel is you thing, you need to consider how you to stay warm in your van when it’s freezing outside.
Installing heating in your camper van conversion at this stage means you can lay any pipe work, ducting and vents in a van free of any furniture.
The most common campervan heaters are diesel heaters, propane furnaces, electric and wood stoves.
To help you decide the best option to keep your van warm in winter, this post covers them all.
It looks at how to build your van with comfort and warmth in mind and the pros and cons of the most popular heaters for RVs, campervans and motorhomes.
Finally, we’ll show you some of the most popular heating systems for campervans with a selection of products.
The kitchen is the heart of many homes and no matter what size your van, the same can be true in your camper.
Camper kitchens might be relatively small but with good planning and thought, can be functional and well equipped.
Van life dining doesn’t need to involve instant noodles and takeaways.
Good campervan kitchen design means you can find space to install a stove, oven, sink and fridge.
With the right kitchen essentials, you have the luxury and choice to cook out too.
Some people opt for a more basic and portable set up. It certainly helps keeps the complexity and cost of a DIY campervan conversion down.
Our campervan kitchen set up includes, a sink with hot and cold running water, Webasto diesel cooker, Engel fridge (we’ve had it for over 15 years) and all the campervan kitchen essentials we could wish for.
Whatever camper kitchen design you choose, make sure to check out our campervan kitchen essentials so you can cook great meals in your tiny home.

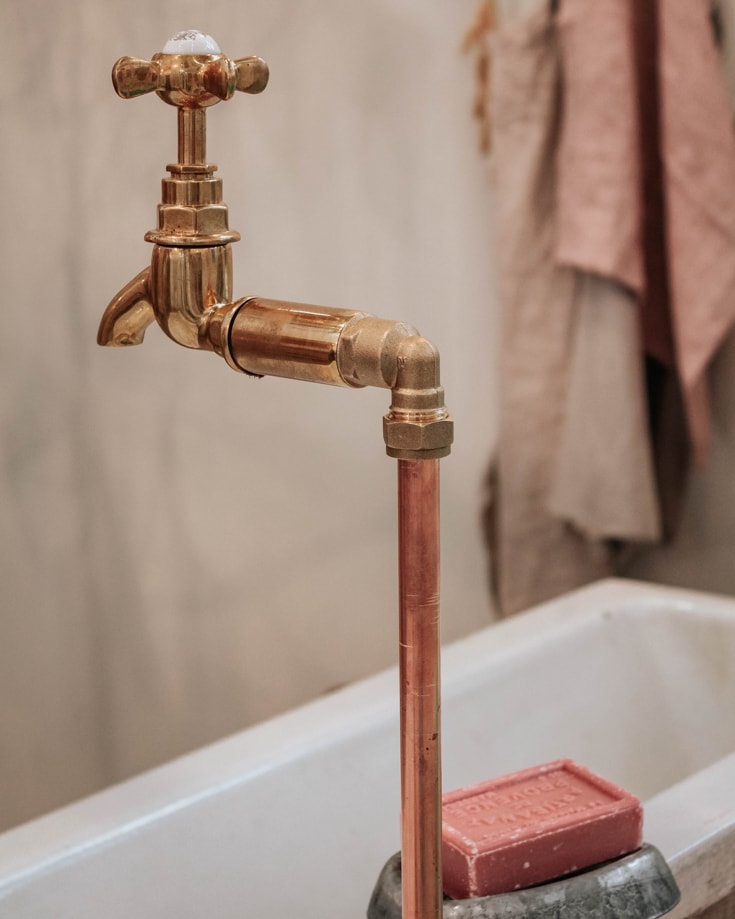
Campervan bathrooms are a complete luxury.
When we first began travelling we didn’t have a camper but a Land Rover with a roof tent. A bathroom was something for glampers not hardcore overlanders!
Well we’ve grown up since then and moved into living and travelling full-time in a van. For us, have an onboard toilet and showers makes it easy.
We think we’d want (and need) to go into campsites more often without the facilities.
Shower for campervans come in all sorts of types. For our set up, both our showers are outdoors. One runs off the main water tanks, heated as we drive.
The other doesn’t rely on our freshwater. We can use lake or river water, heated through engine coolant system giving us an endless supply of hot water.
Blissful!
This is the time to decide if you want a toilet onboard too. Many van lifers don’t and they manage so it’s not completely essential.
Again, there’s several campervan toilet options open to you, from basic poop in a bag to our Rolls-Royce composting toilet.
Whatever you decide, install you campervan bathroom now.

The final step in your DIY campervan conversion is making the van your home.
This is the time to install all the appliances, fixtures and fittings.
How will your build your furniture and bed?
Pre-built DIY campervan conversion kits available for many makes and models of vans now, saving time on the build.
Or will you build it yourself from wooden framework?
We built ours from aluminium square tubing and our cupboards from dibond, to help keep the weight down.
Think about outdoor living, van life laundry and keeping your food fresh.
Lots of things need storage space of some sort.
There’s lots of great storage ideas on using small spaces effectively.
Do your research and incorporate some into your interior design.
Then for the fun part - buying campervan gear, gadgets and finishing touches to turn your brand new campervan into your home.
Making sure you have all the gear needed isn’t like packing for an average holiday though. It’s more like moving house!
Luckily our definitive list of campervan essentials includes a free checklist for you to download.
And if you forget anything, you can always buy it once you hit the open road.
Is it all too much for you? Check out the best van conversion companies and consider outsourcing the job.
Graham Bogie

Graham is a seasoned marine electrical engineer with two decades of experience designing customized electrical systems for plant machinery and converting campers and overland vehicles. His expertise has led him to author the reputable Campervan Electrics Handbook and become the chief designer of the RV Wiring Design Tool. As a knowledgeable figure in the field, his YouTube channel, blog, Facebook group, and newsletter, offering electrical advice and product reviews, reach more than a million users each year.
Hi Graham,
Is the conversion guide available as a single purchase or does it come in several different sections?
I intend to convert an LWB Sprinter High Roof over 2-3 years. I had considered a Super-High Roof as I am 6foot 2inches (187.5cm) but stooping a little is OK i.e. high roof should be OK
I like the idea of outdoor showers to enable more living space in the van, which I believe your good selves have done.
I look forward to your feedback.
Thanks, Gerry
Hi Gerry
Our van build guide posts are free on the site. We have published a book specifically for the electrical system (Campervan Electrics Handbook) which is far more detailed and takes the reader from complete basics to advanced installation. We have thought about publishing a book on the entire build but we’re not sure yet. It’s so much work and we’re not sure there’s a demand for it. In the meantime – enjoy the free stuff and let us know if you have any questions or if there’s any part of your conversion we don’t really cover – it’ll help us expand our content :-)