If you’ve read a few of our travel posts, you’ve probably heard us mention the mobile iOverlander App more than once.
So we figured it was time to publish this post giving you everything you need to know about it, from what it is, how we use is almost every day, how to use it offline and how to integrate it with your GPS software too.
So are you ready? Here goes….
What Is iOverlander?
The founders of the app state:
iOverlander is a tool, by and for overlanders, which enables its users to submit, amend and find information and opinions, primarily about places that are essential for the act of overlanding, and secondarily non-essential places that are of interest to a significant group of overlanders.
As written on the iOverlander website
So what does that mean in practice?
An Example Of Using The iOverlander App
We’re currently overlanding through South America.
We’ve had a long day exploring Abra del Acay – a high altitude mountain pass in northern Argentina – and need to find a place to park for the night in our camper van.
The area is remote and seems an unlikely place to stumble upon a formal campsite.
As we drive, we look around for a suitable place. Nothing obvious catches our attention.
We open the iOverlander app on the iPad and hone in on our current location.
The markers indicate others have travelled the same road before us, adding points of interest (POI) to the app. We filter the markers so we only see accommodation and read the short descriptions of places nearby.
One sounds suitable so we check it out. It’s as described on the app but a barrier has since been added and our vehicle is too tall to fit through the gate.
It’s no good for us and other travellers behind us may not know about the new height restriction.
We take a photo of the new barrier and add it to the existing entry on the app with another short description.
We move on and find a place more suitable for our vehicle and spend a quiet night, free of charge.
This place isn’t marked on iOverlander so the next morning, we take a photo and add it as a new entry to the iOverlander app.
This is how the app has grown over the years. Users add and amend the information, for the good of the entire community.

What Information Does The iOverlander App Give?
The main focus of the app is to help travellers find somewhere to sleep, eat, refuel or even help find a local mechanic.
Specific points of interests include free camping spots, hostels, border crossings, places to find drinking water, fuel and propane filling stations. All critical things for any overlander, especially in remote regions around the world.
But we can add tourist attractions, laundries, restaurants and medical facilities too. In fact there’s over 20 types and a “other” category too as a catch all.
The app is immensely helpful in finding places of interest, sharing places with others and getting GPS coordinates too.
And because it shows the date last visited, you can get a feel for how accurate or current the information may be.
It’s also a terrific way of saving money. Take Rio de Janeiro for example. We followed the advice of other travellers and slept in our campervan in a secure car park for 4 nights at a total cost of around US $40.
Without iOverlander, we’d have had to hunt out such a facility or use a hotel in the city with a secure car park.
Is iOverlander App Free?
It’s free! How cool is that?
The database is growing and maintaining a database has associated costs. The owners accept donations to help with those running costs.
How To Use iOverlander
You can access the iOverlander website with an internet connection. While of limited use while travelling, you can get a good feel for what you can expect from the app and how much valuable data it provides.
And it’s a great tool to use as part of your trip planning too. Simply start exploring the region you plan to visit via the app.
But to get the most out of it, you need to download the app for iOS or android.
How To Use iOverlander Online
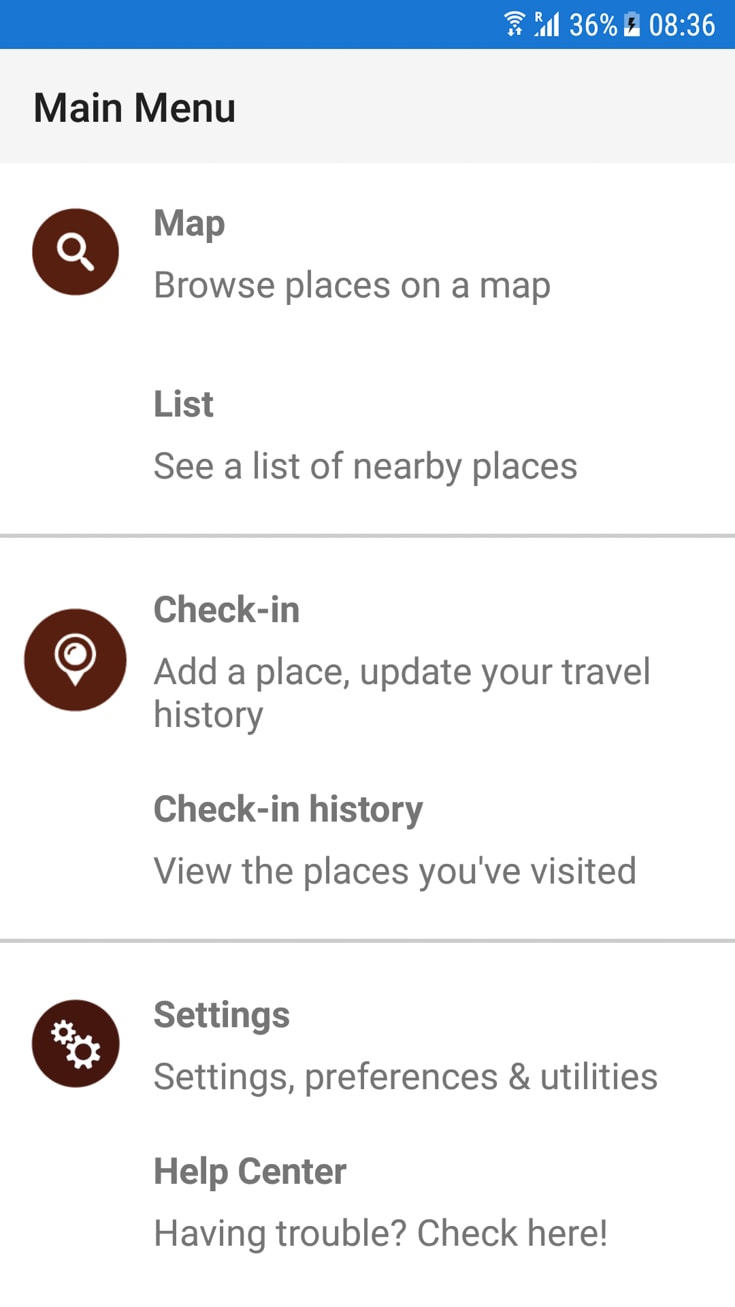
First up, while you don’t need an account to browse existing points of interest, you will need one to check in, update information or add new points of interest. So go ahead and sign up for an account in the settings option from the main menu.
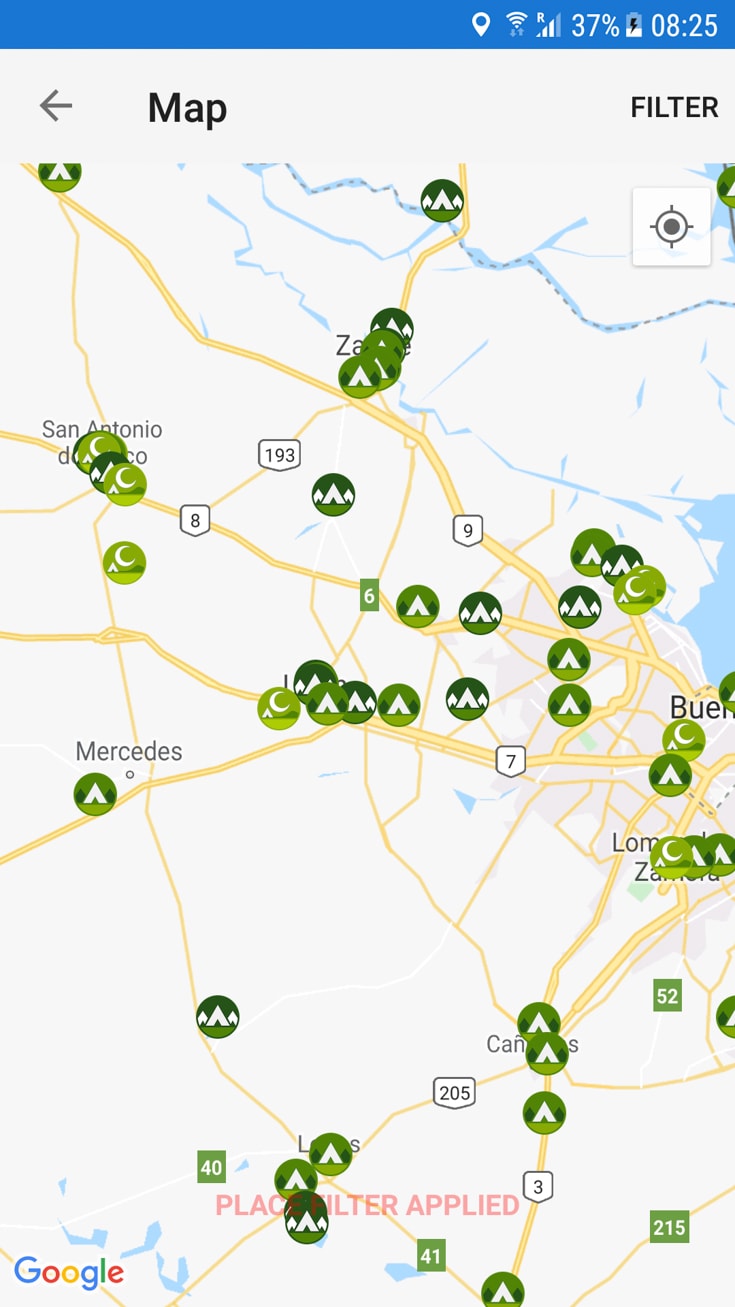
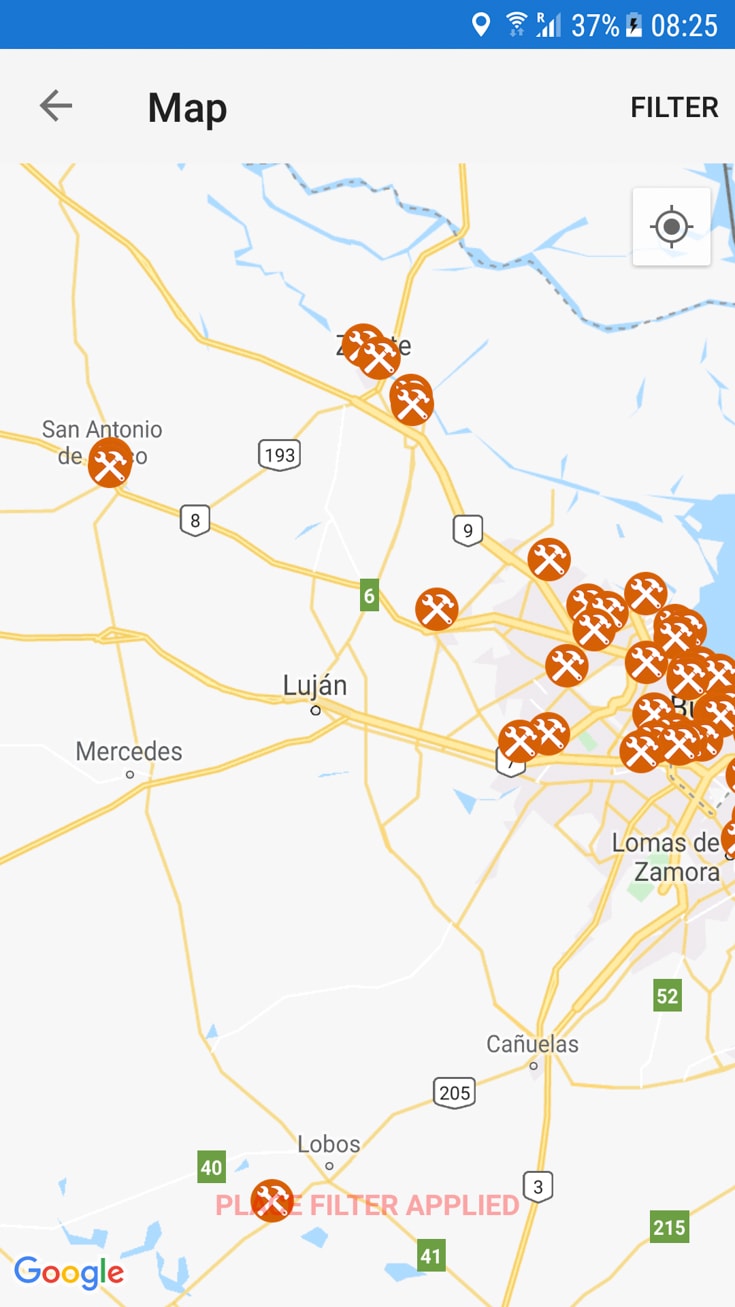
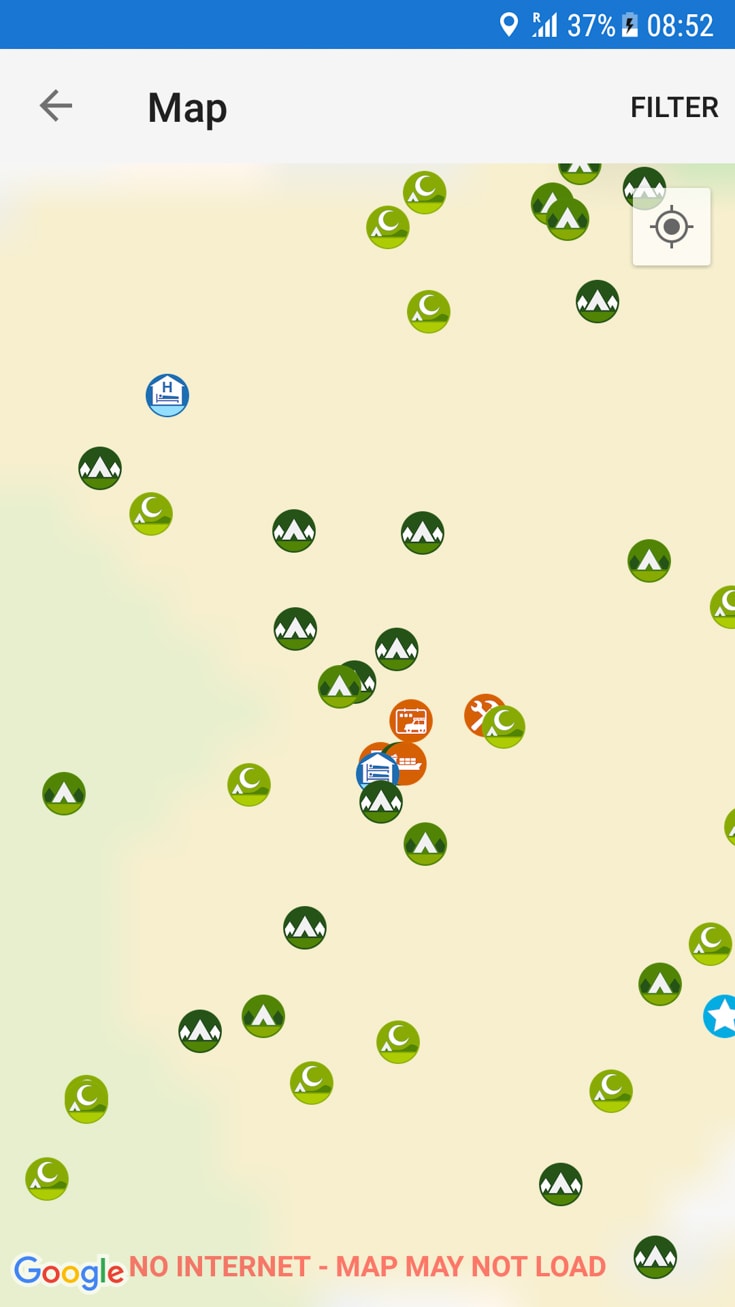
You can browse the map directly in the app. Depending on your location, you’ll notice the icons.
If it’s too busy, as in this screen shot above, using the filter button in the top right hand corner to focus on the specific type of POI. This now only shows me what I’m interested in. You may need to zoom in or out to see more or less icons.
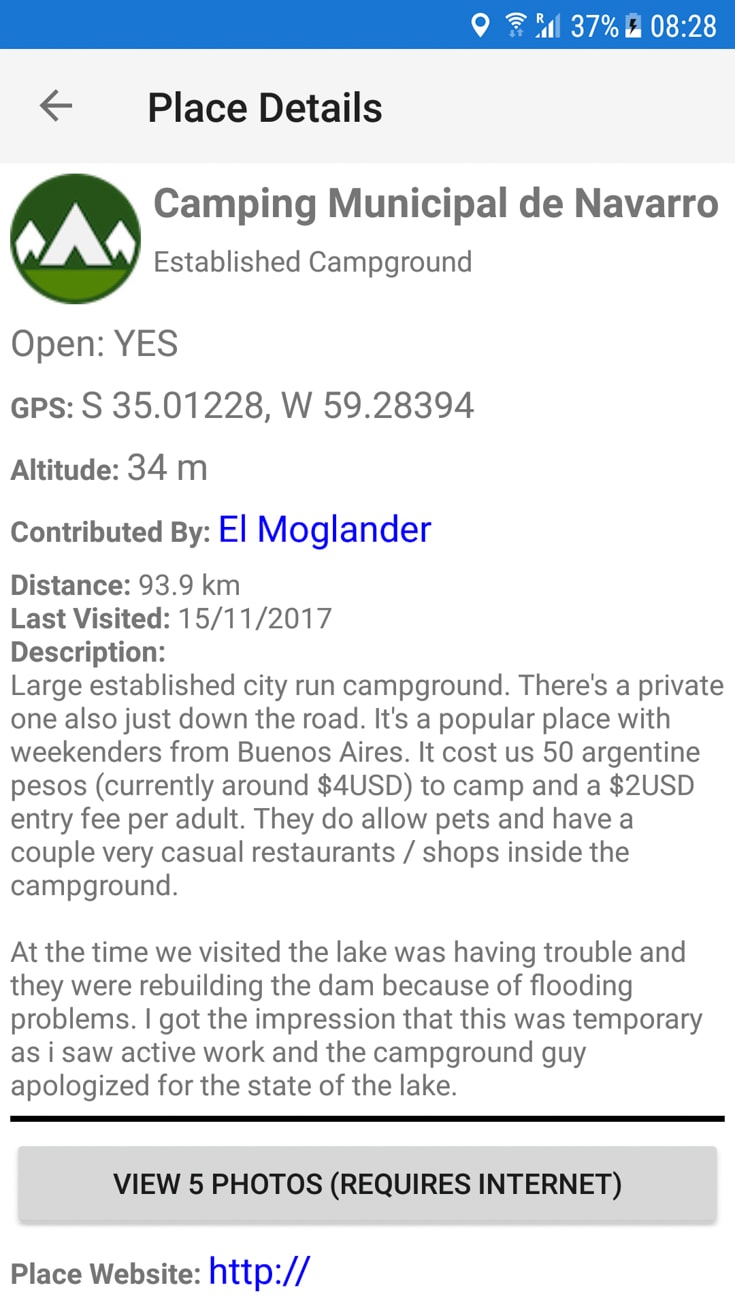
When you click an icon, the app displays information about the place entered by people who have previously checked in, including a link to any photos added.
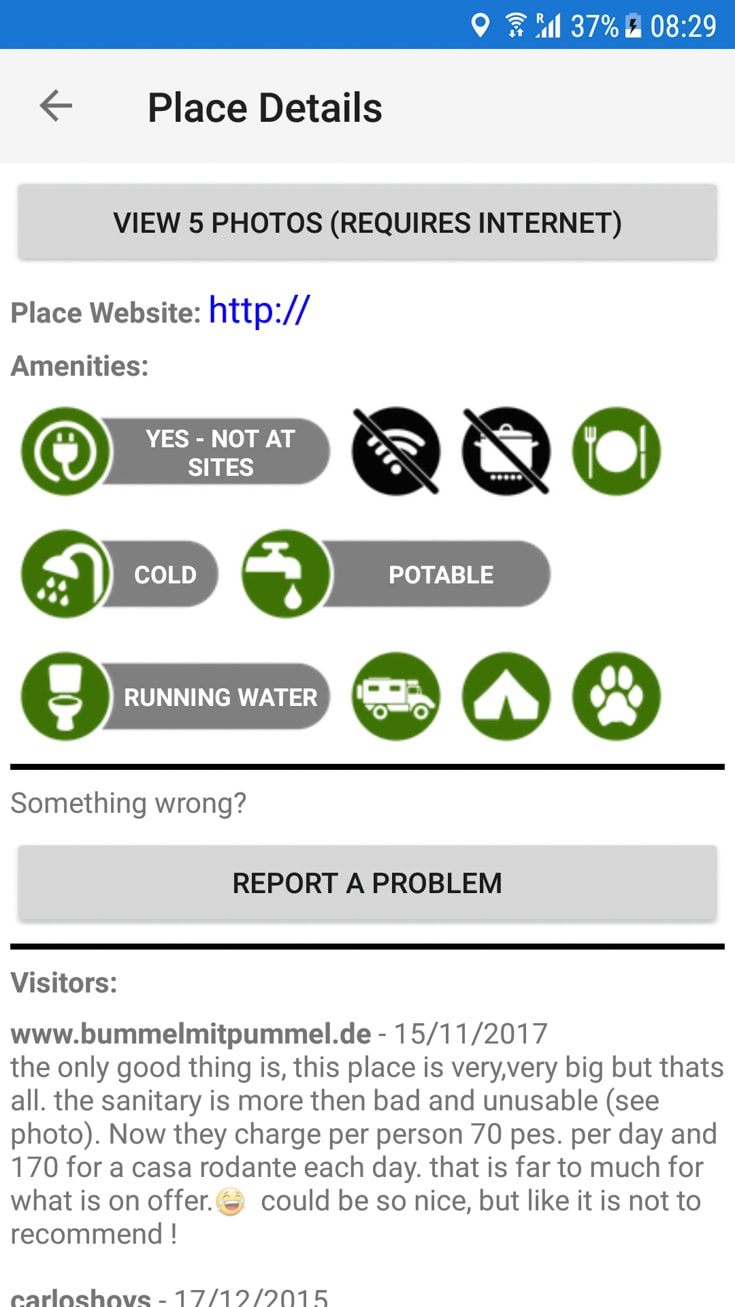
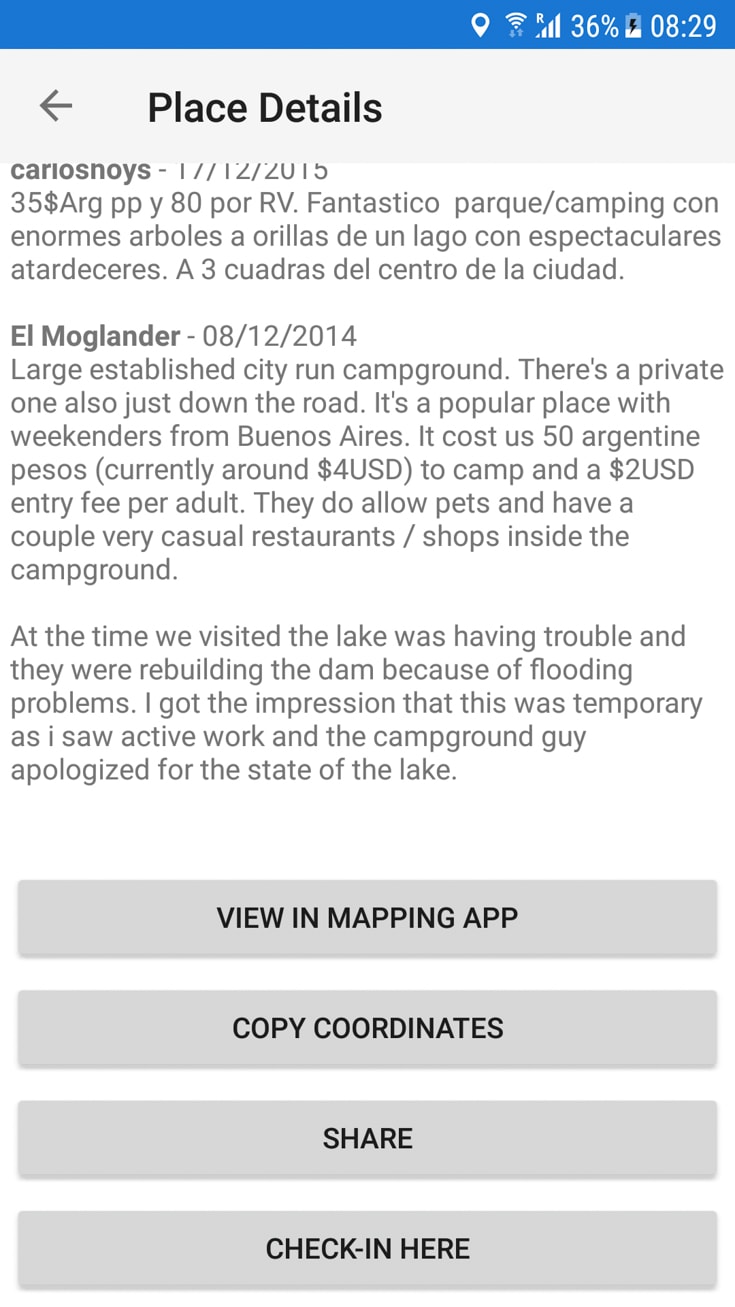
At the bottom of the details, you have 4 options.
- View in mapping app – click this to open your installed mapping app with a pin to the specific location.
- Copy coordinates – does what it says on the tin
- Share – allows you to send it to others via Whatsapp, email, Google drive etc
- Check-in – allows you to add an update and more photos
From the main menu, you can also check in to either an existing place or add a new one. The app will guide you through the information you should include depending on the type of place and ask you to add photos if possible.
How To Use iOverlander Offline
Can the app be used offline? Hell, yes! Without this, the app would be almost useless – well we’d not use it much for sure.
Given this app is designed for travellers, it’s critical it functions where there’s no internet signal.
The app works offline in exactly the same way as described above with a couple of limitations:
- You can’t see the photos previously entered on a POI without an internet connection
- While you can still check in to a place, adding information and photos, your device will need an internet connection so it can synchronise before it’s uploaded to the database
- iOS devices don’t cache maps, so you can’t see the map below the icons
- Android devices sometimes cache parts of maps, so you might get lucky, depending on your search area.
It can sometimes be quite a challenge when the maps aren’t loaded. It’s impossible to get your bearings from the app when it’s offline.
However, there’s a fabulous work around, one we use virtually everyday we travel. We integrate iOverlander with our mapping software, Maps.Me.
Now, we when we open our mapping software, displaying the bookmarks we’re interested in, all the POIs appear on the map along with the first entry for eaach place.
Limited information is displayed for each POI in Maps.Me but it’s enough to determine if you want more detail. If you do, go back to the iOverlander app and locate it there for the full details.
It’s a little bit clunky, especially if your POI is not in you near vicinity because it’s a little difficult to find it without the underlying map, but it works.
How To Load iOverlander Waypoints Onto Maps.Me
Here’s how to integrate the waypoints from iOverlander onto Maps.Me.
You need an internet connection for the initial install.
On a laptop, desktop or android device, navigate to iOverlander and select the country of choice.
Click the download GPX file for the country of choice.
Convert the GPX file to a KML file – we use this site.
Email the KML file to yourself.
Open your email app on the same device you use Maps.Me.
Open the email and click on the attachment to download it.
When it’s downloaded, click on the attachment again to open it. It’ll look like this….
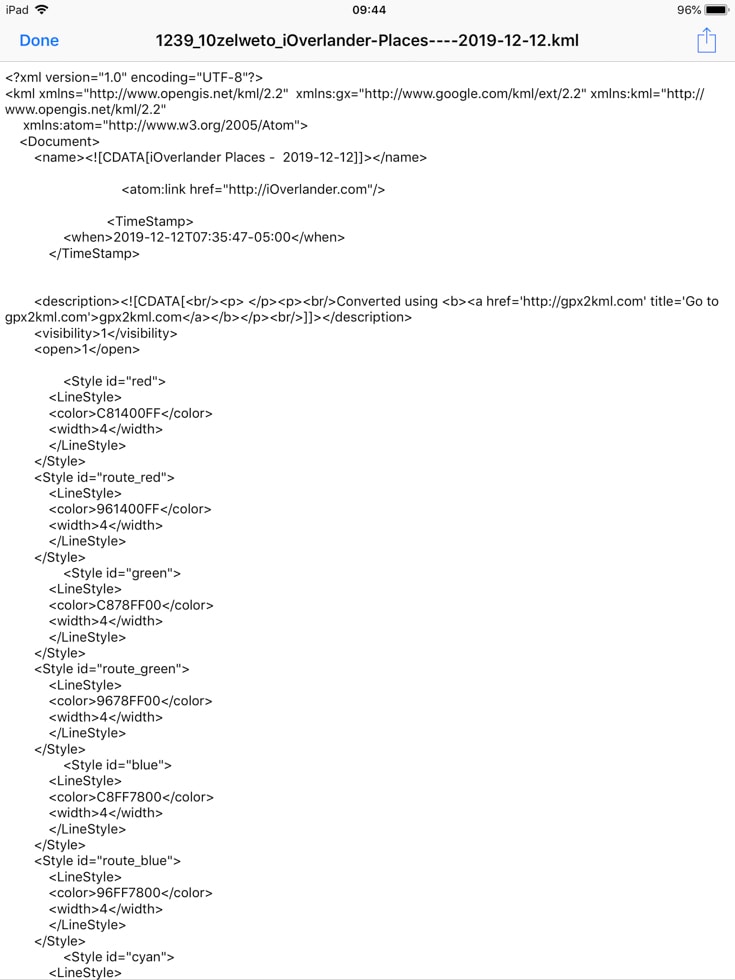
Click the share button in the top right hand corner and select copy to Maps.Me.
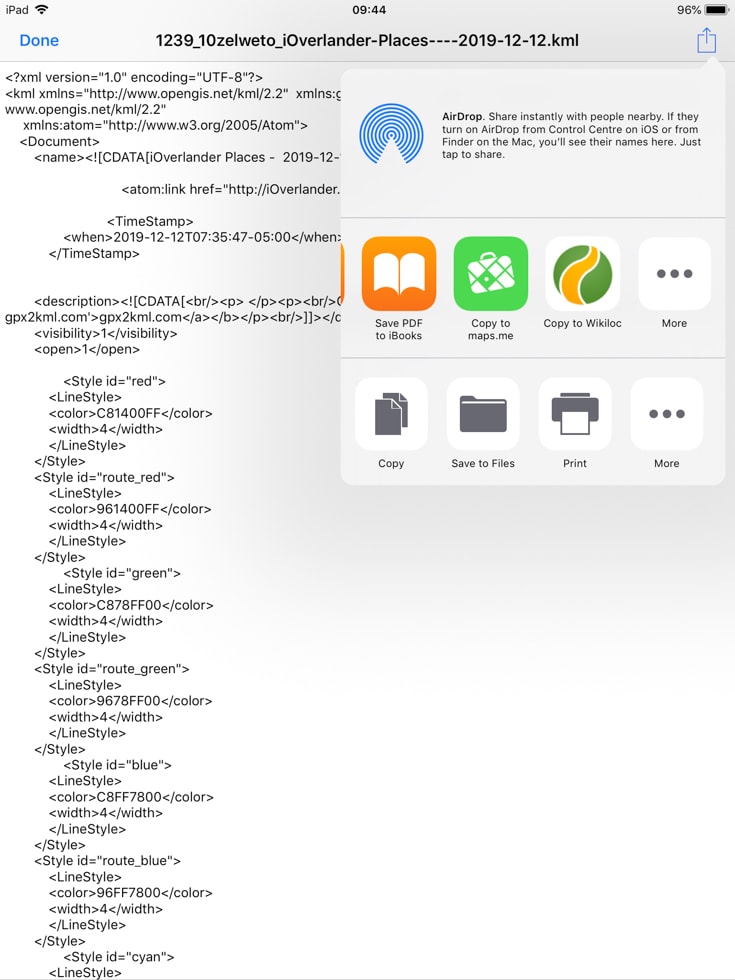
You’ll get a message confirming the bookmarks have been added.
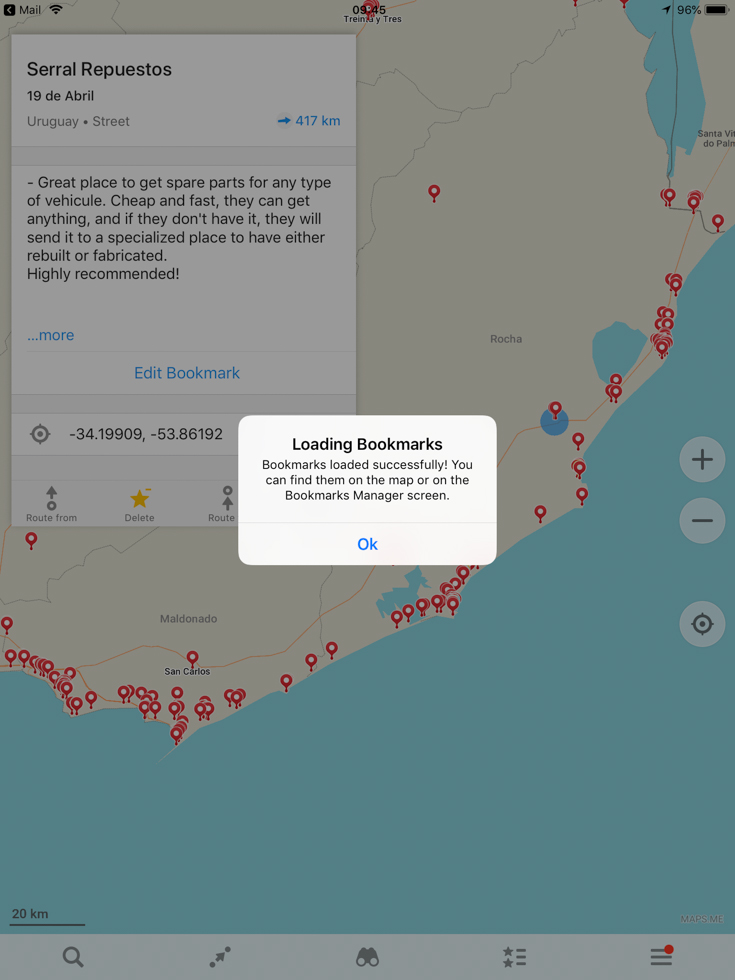
Often, the name of the bookmark folder imported isn’t especially intuitive, so you may want to change the name of the folder now to help filtering while you’re on the road.
All icons appear as red pins in Maps.Me so it’s impossible to visually differentiate between types of places.
If you want to be able to filter by specific types of POI in Maps.Me, rather than download the entire POI library in one GPX file, filter by POI first then download the file. This way, you’ll have a separate bookmarks folder in Maps.Me for each group you’ve selected.
We have one for accommodation options and one for everything else for each country.
While we don’t rely on iOverlander, we do use it a lot to get a feel for a region from an overlanders perspective.
So if you’re preparing for an overlanding journey, make sure to download iOverlander before you go.
Angela Devaney
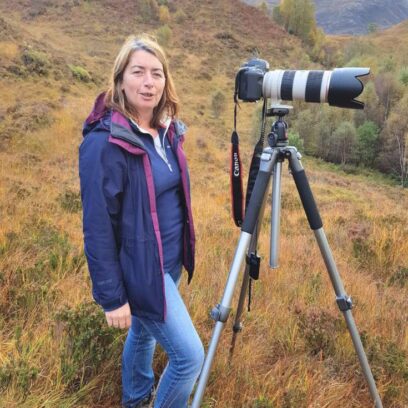
Angela Devaney, a former IT project management professional, embarked on an adventurous journey of full-time travel, which included touring West Africa in a converted overland truck and converting an ex-military 4×4 Sprinter van into a camper for a five-year South American expedition. She now utilizes her hands-on experience to create practical RV living and van life advice as a full-time digital media producer, reaching over a million users annually through her YouTube channel, blog, and newsletter. Angela also lends her expertise as the editor-in-chief of the Campervan Electrics Handbook.
Unfortunately I couldn’t convert the GPX to KML. I tried with Argentina and Chile files. Do you know if it is still working?
Hi Allan – It still works. I’ve just tested it with another download. Have you converted the gpx to a kml file first?
@Allan, you can now download kml files directly from iOverlander. https://ioverlander.com/countries/places_by_country