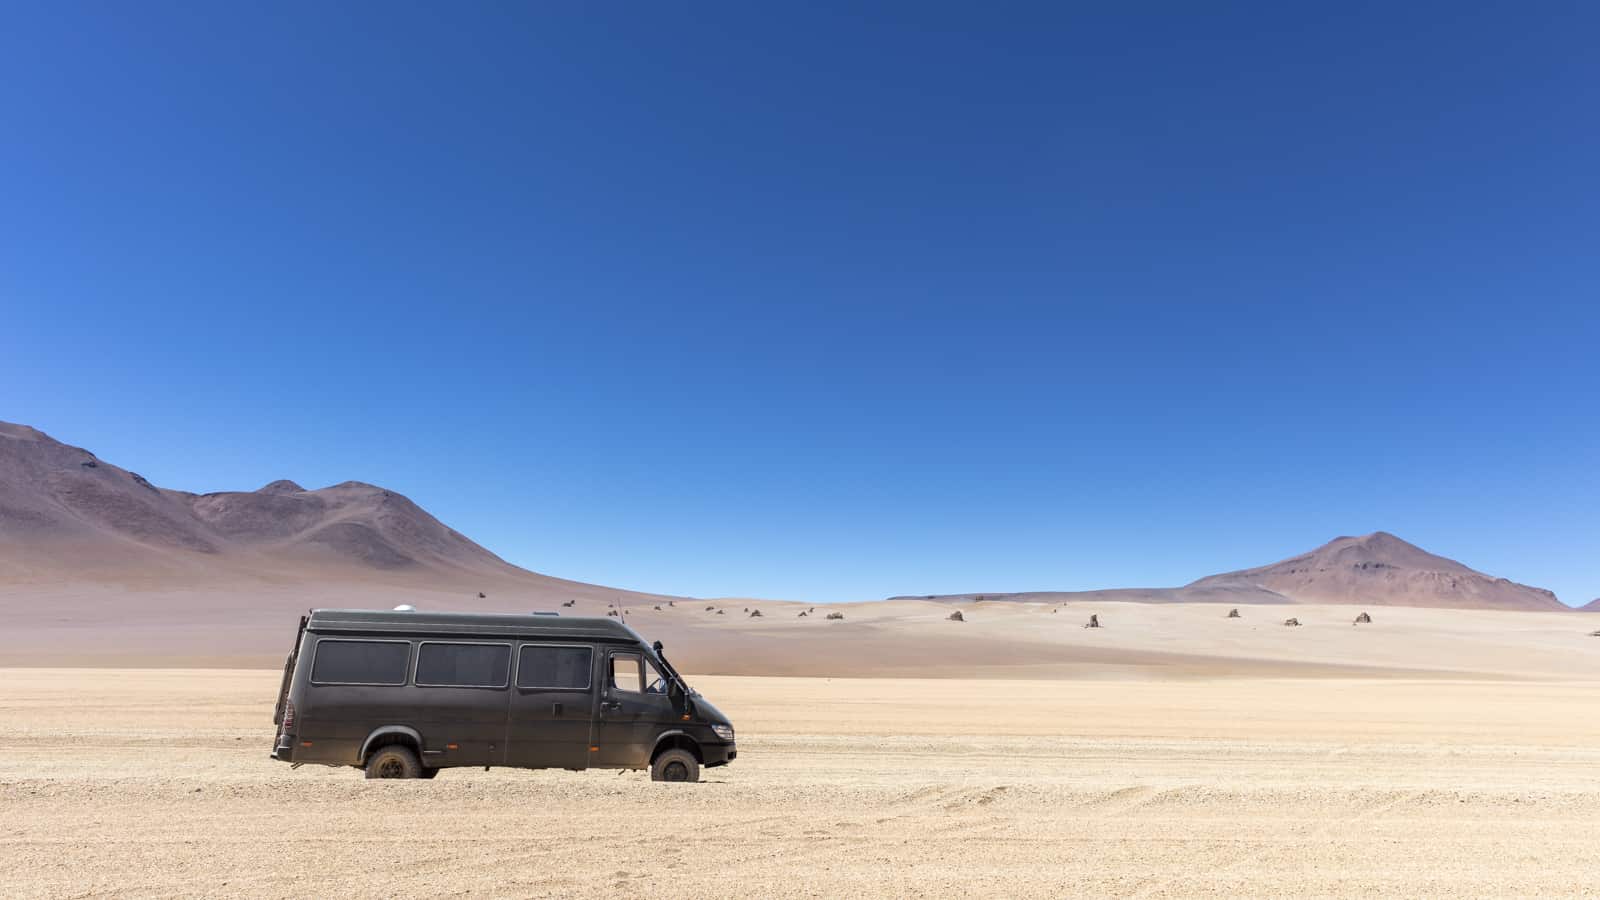
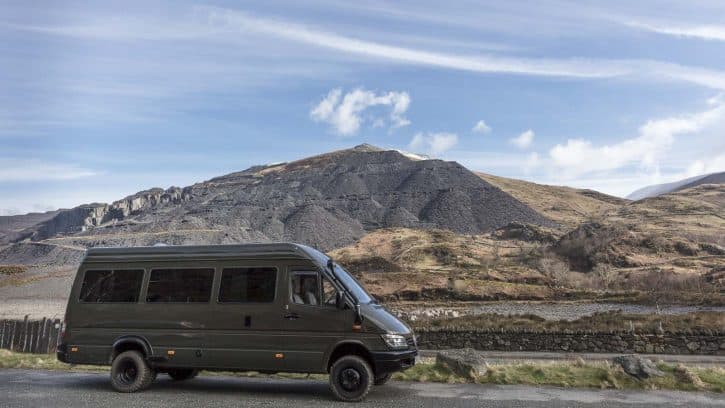
We’ve been living in our Sprinter camper van conversion, Baloo for over a year already. Less than 2 years ago she was still a 4×4 ex British military minibus and looking a little sorry for herself.
After 2500 hours of conversion work over 8 months, she was reborn as our camper van conversion, home and the 3rd member of our team.
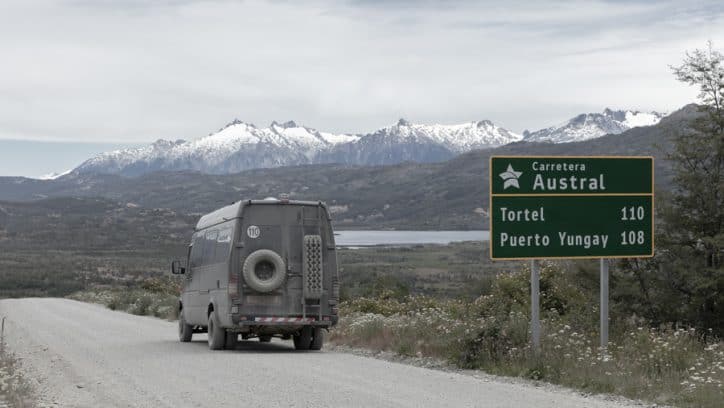
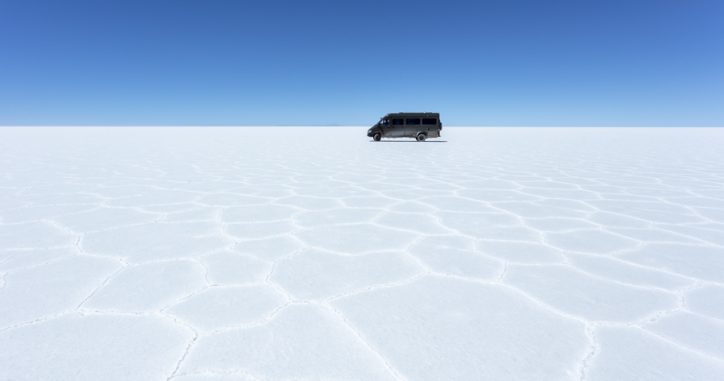
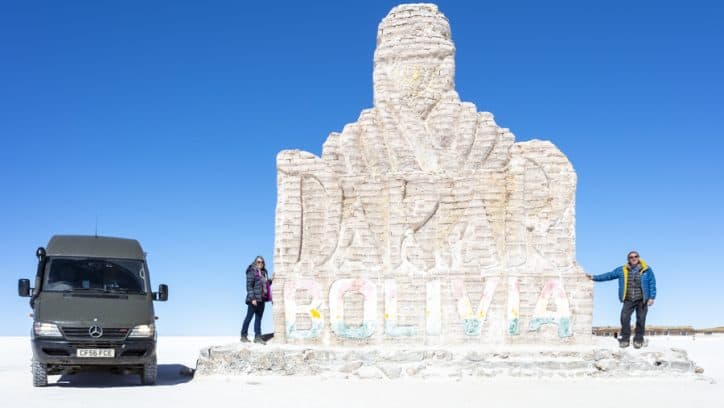
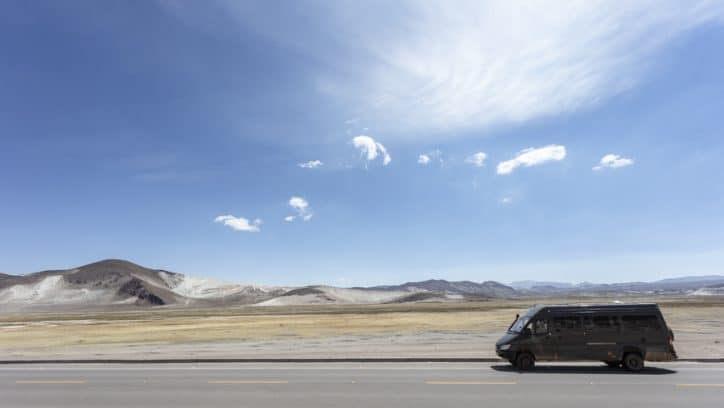
Since April 2018, we’ve shipped her across the Atlantic Ocean, explored the high Andes Mountains of Bolivia, driven through Chile’s Atacama Desert and had the most incredible adventures in Patagonia. And that’s just the start of our adventures.
So how is she fairing? Read on for our full review of our Sprinter camper van conversion including what works well, what doesn’t and what we’d do differently with the benefit of hindsight.
Before you start: meet Baloo here
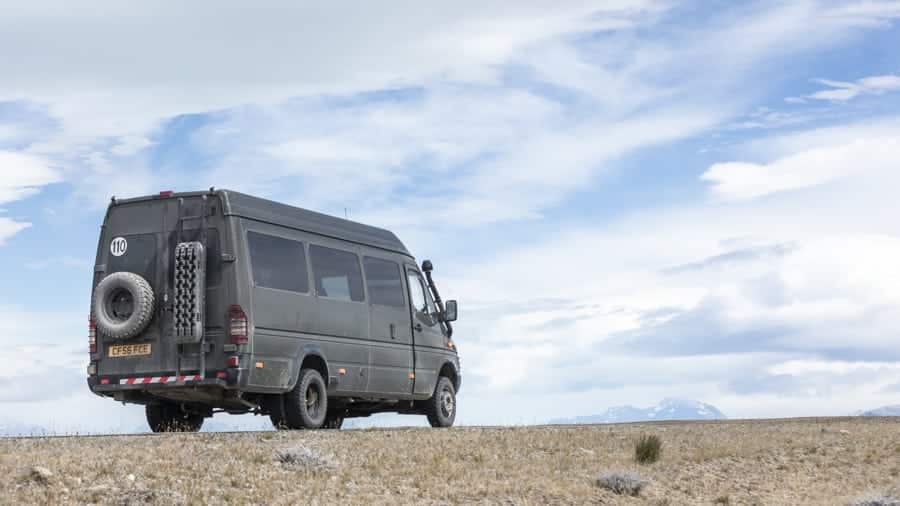
Sprinter Camper Van Conversion Review
In summary, we’re chuffed to bits with how the camper van works for us. Yet there are a couple of tweaks we’ve made since, and a few things we’d do differently if we built her over again.
Hindsight is a marvellous thing! So here goes – we hope you can take some benefit from our lessons learnt.
A Mercedes Sprinter Van For A Camper Van Conversion
We chose an older 2006 model of the Sprinter 4×4. She’s a long wheel base with dual rear wheels and a Mercedes fitted Oberaigner low box with centre and rear diff locks.
We upgraded the tyres to 215/75 BF Goodrich Mud Terrain KO2 and kept the original 15” rims.
Read more: the best advice for modifying your overland truck
South America has many black top roads and a share of tracks too. The tracks we’ve driven so far are corrugated and often full of pot holes. After rain many become quite treacherous.
The sandy clay surface becomes slippery and the steep camber on either side makes for tricky driving. During the dry months, they’re dusty and kick up a lot of micro fine sand.
At high altitude, the tracks, especially on Bolivia’s Laguna Route are as rough and rocky as they come, with patches of snow and ice.
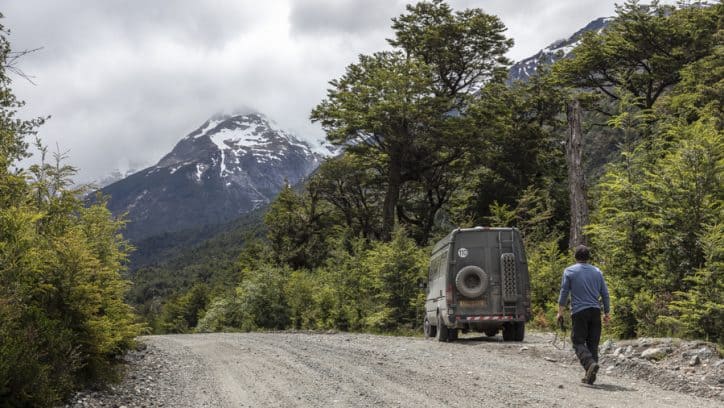
We slowly crossed the high Andes, where the altitude reaches above 5000 metres. We’ve met drivers reporting their new Euro 5 trucks fitted with DEF systems struggling and even failing at high altitude.
Bolivian fuel is also notorious for poor quality, but our older model Sprinter didn’t suffer similar issues.
On performance and fuel economy we didn’t notice much change to normal altitude driving, so happy with our choice to go with a non DEF fitted vehicle.
We average around 20.1mpg including our fuel usage for heating and cooking.
All said, the Sprinter is performing exceptionally well. The 4×4 set up has ensured we’ve not missed a trick and the handling has been perfect.
Without the 4×4, some of the tracks we’ve driven would have been far more difficult. We’ve met people who have done most of the same tracks in 2 wheel drives but they had a fair amount of challenging moments and occasionally needed help.
We’ve even seen 110 Defenders needing Maxtrax to get them out of trouble, although to be fair, that was probably due to driver error.
Technical Issues With The Sprinter Van
While the Sprinter handles well, we’ve not had an issue free year. None of these issues were significant and there’s nothing we could have done before hand to prevent them – they’re just one (or 4) of them things.
Here’s a run down of the issues we’ve experienced with the base vehicle.
Broken Leaf Spring
This is a bit of a mystery to us because we don’t know with certainty when and where the damage was caused. We found the problem by chance so had no idea how long we’d been driving like this.
Given we’d just finished driving Bolivia’s Laguna Route – the roughest route of the journey so far – it’s the most likely culprit.
Even so, we’re still surprised it broke because we lightened Baloo’s weight significantly during the conversion.
Side Wall Puncture
We’d only been in South America for about 3 weeks when we punctured the side wall on one of the tyres.
Annoyingly, we couldn’t change the wheel because when we had the rims refurbished and new tyres put on, they were put on workshop tight.
Fortunately, the puncture was on one of the rear tyres and because we have dual tyres, could drive to the nearest gomeria for assistance.
So a word to the wise – tighten your own hub nuts so you know you can undo them when you need to change a wheel.
Alternator Regulator Failure
Driving between Puerto Natales and Punta Arenas in southern Chile, the battery warning light came on.
Evidently, the regulator for the alternator had packed up and with no other choice, we nervously drove another 100 kilometres to the nearest Mercedes garage in Punta Arenas.
Fortunately, there was enough charge in the battery to get us to the garage.
24 hours later and £250 lighter for changing the diode pack, we were back on the road.
Rear Hub Seal Leak
In the northern part of our Ruta 40 journey in Argentina, we noticed a seeping rear hub seal. It wasn’t a major leak but enough to want to get it changed.
We visited another Mercedes dealership in Tucumán, Argentina for a replacement.
What should have been straight forward turned into a complete mission but more on that below – Mercedes aftermarket support isn’t always everything it’s cracked up to be.
Fuel Leak
We did get some air in the fuel line caused by a weak hose clip when we were at 4000m. This caused us no end of grief and was as a direct result of not following our own advice!
When we fitted the 2nd fuel tank, we tapped into the original fuel system, so introducing a weak spot. We should have left well alone!
Anyway, after several attempts at resolving the problem in Potosi, Bolivia at around 4000m above sea level, we eventually fixed it. Breathless!
What Would We Do Differently?
There’s only 2 things we’d do differently if we had our time over again.
For no other reason than cosmetics, now I know I could have got away with a bigger tyre, I’d have fitted 235/75 BF Goodrich Mud Terrain KO2 instead of the 215s.
I stuck to the stock size originally because of the dual rear tyres but now they’re fitted, I can clearly see there’s room for the larger size.
We’ll fit them next time we need all round replacements – probably in another year or so’s time.
If we were to do the camper van conversion again, we wouldn’t tap into the original fuel system.
We needed a 2nd tank to cater for the diesel cooker and heater but we could have had a dedicated tank with separate fill line for them. This would have been the simplest and overall best solution.
Quality of Mercedes Aftermarket Support
Spare parts for our Sprinter are mostly easy to come by as the 2 wheel drive version is widely used here in South America. There are both after market and Mercedes suppliers throughout the continent.
Any 4×4 specific parts required will be harder to source.
Word of warning! The quality of Mercedes dealers, their mechanics and repairs are not consistent across South America.
It took Mercedes 4 attempts, in 3 different locations and 2 different countries to fix 1 leaking hub seal!
Even with our beady eyes watching over them they still struggled to fix the seal, damaging ABS sensor rings and messing up hand brake adjustments.
So a simple fix turned into a lots of expense and more stress than was necessary.
Our Sprinter Camper Van Living Accommodation
So what about our home? We spent weeks mulling over the layout and conversion of the minibus into our new home. Did we get it right? Find out below.
Insulation, Ventilation and Heating
If you’re building your own van, no doubt your research will have shown you there’s many ways to go about insulating, heating and ventilating your van.
There are as many options as there are vans and no right or wrong answer on how to keep you warm and prevent condensation. Take a look at our article for some straight talking on your choices.
In the past 12 months, we’ve experienced night time temperatures between -14°C and +27°C. As a rule of thumb, we sleep with the front windows cracked open and the roof vent fully open unless there’s impending rain.
We don’t suffer much from condensation unless it’s really cold outside and we’re cooking indoors. Otherwise, we seem to be doing well.
You can read more about this in our post on how to stop condensation in a van.
However, we didn’t winterise the van so were a little uncomfortable in temperatures below -5°C and at 4500m altitude, the Webasto heater wouldn’t start. Thank goodness for feather quilts!
Water Systems
The campervan water system including all fitted water tanks, filters taps and showers all work as predicted. Clean drinking water is readily available here in South America and we’ve had no issues with our 170 litre capacity.
During our time here, we’ve had no problems accessing hot showers but down in the Carretera Austral in Patagonia, with an abundance of glacier lakes, we indulged in the longest hot showers ever.
The BushRanger shower was perfect! It certainly helped us stay off grid and avoid campsites.
Electric Systems Solar Panel Woes
Our base electrical design is 400w flexi solar panels and 2 x 115 amp hour gel campervan batteries.
We also fitted a smart relay to allow the engine alternator switch charging between the main and house batteries when full.
The flexible solar panels worked well for about 10 months before they all failed. We wired them in parallel and in the heat of they day appeared to generate a disappointing 8 – 10 amps.
It seems flexible panels aren’t so flexible and even though we prefer their low profile and mounting options, I wouldn’t recommend now.
We managed to find and install a ridged framed 130w Monocrystalline Solar Panel and an MTTP controller while on the road. Despite the smaller panel and with the upgrade to MTTP we seem to be better off than before.
You can check out everything you ned to know about camper solar panels in this post, including a complete installation guide and wiring diagrams.
Electrical Hook Ips
Electrical hook ups are common in South America. Even most municipal parrilla stops and parks seem to have a 240v plug alongside.
The main challenge with the hook ups are the socket adaptors. We’ve travelled through 5 countries in South America so far and each have their own style so we’re having to adapt the hook up cable plug in each country to make use of the free power.
Many sockets and adaptors we’ve seen are verging on dangerous out here so we choose our hook up with care. Then keep a watchful eye and disconnect if we see problems.
Sprinter Camper Van Kitchen
The kitchen cabinets, storage system and sliding doors have been a complete success.
We’re so pleased with how this is working. We have 11x 20 litre boxes for clothes, food and cooking equipment. We still manage to keep one box empty and on clean house days we get down to 2 spare boxes.
With good trip discipline like returning things to the right box after use we have a tidy van most of the time.
The 2.6 m bench with sink and cooker is a great place for food preparation and dish washing so the compromise of not having a fixed bed has paid for itself many times over.
Webasto Cooker
The diesel cooker has performed well. It took a little while to get the hang of it because it’s slow to warm and then when it’s hot, slow to react to changing the heat setting. With practice, we’ve adapted to work with it.
Even at high altitude it hasn’t missed a beat.
We’ve had a few issues with the cooker though. The original unit needed to be returned when we were converting the van when it suffered a control panel problem and we’ve just had to replace the glow plug too.
The glow plug only lasted for 1 year of living full time and probably had about 5 starts a day. 1600 starts feels a little low for the lifetime of the glow plug and we’ll let you know how we get on with the next one.
Camper Van Bed
We knew choosing a foldaway rather than a fixed bed was a compromise. Yet we decided have the extra living space during the day was more important to us.
After on a few days living in the camper van, we had the routine of putting it up and away down to a fine art. It probably takes about 90 seconds all told.
We’re still careful when moving the leather cushions so as not to scratch the surface and we had to tape over the round head screws on the bed base to stop wear on the back of the leather seats. Next time, counter sunk screws is the way forward.
The Bathroom & Composting Toilet
Many overlanders end up using their bathroom as a wet clothes storage and we’re no exception so the decision not to make ours a wet room and fit an external shower was the right one for us.
If there are no other clean showering options available to us, we use the shower in the back door and all is good in the world.
The decision to go with a campervan composting toilet was undoubtedly a great one!
What Would We Do Differently With The Living Accommodation?
We installed a Webasto 2000 STC heater but it’s only 2 kWh and given our internal space and no overhead lockers, we think it’s a little too small.
Our internal warmth is improved with thermal window curtains and a curtain closing off the driving cab and that’s worked great so far.
Of course when it gets really cold, then we have a perfect reason to jump under our Hungarian goose down duvet with our socks on for the evening and watch the latest Netflix downloads…hardcore travellers, that we are!
One piece of advise on fitting insulation and then carpet. Make sure to tape over any holes on the interior body before you glue your carpet lining on.
After a few 100 kilometres, mucky stains will appear around the holes onto the carpet, and they don’t seem to scrub out too well. We find the carpet lining just a little grubby and one day, we’ll change it for some sort of wipeable vinyl covering.
Although we’re happy with the roof vent, we did have a small leak which perhaps is to be expected given we live in a moving vehicle. If we were to convert another vehicle, we’d probably consider installing secure opening windows instead.
The 20 litre onboard hot water tank is perhaps a touch too small, as it only provides enough for one hot shower before it becomes a tad too cold. We’d consider a larger tank next time although we do manage.
Summary
So in summary we’re doing great in our older model 4×4 Sprinter camper van. She’s holding up and performing as well if not better than expected. We can remain off grid for extended periods, sleep, shower, eat, poop and travel at our leisure.
For us, Baloo is perfect.
Graham Bogie

Graham is a seasoned marine electrical engineer with two decades of experience designing customized electrical systems for plant machinery and converting campers and overland vehicles. His expertise has led him to author the reputable Campervan Electrics Handbook and become the chief designer of the RV Wiring Design Tool. As a knowledgeable figure in the field, his YouTube channel, blog, Facebook group, and newsletter, offering electrical advice and product reviews, reach more than a million users each year.


Quite the travel info. Great job putting your camper van together.point us you are having a great journey even with a few pitfalls. Admire you.I am from wa.the PNW love to camp and kayak,hike and whatever else just to be outdoors in this great world. So carry on enjoyed. Laurie Speidel see me on instagram