Overland builds and vehicle modifications are an expensive business. The shows are full of after-market off road product sellers, all selling gear for your own overland build.
But do you know where to start? Do you get excited and inspired by all the kit on display at the shows?
Me too! I’ve built half a dozen expedition vehicles and camper van conversions and made some costly choices (and mistakes) in my overlanding career.
Understanding what recovery gear is essential and how to use it will help you design and build the perfect overland rig for you.
Here’s the best advice you can get on vehicle modifications for your overland build.
Considerations before modifying your overland vehicle
Before modifying your base vehicle, there’s a few things you ought to consider.
Giving these appropriate attention will help refine your modification choices to suit your overlanding adventure.
It’ll help make sure you don’t over spec so you can get your overland build done in the simplest way.
To begin traveling sooner, put off any modifications that aren’t necessary. This will give you more spending money for your travels as well.
Not sure how much van life costs? Living in a van or overland vehicle doesn’t need to be expensive.
Need v want
Before starting your overland build, ask yourself what you’re going to use it for.
Is it for fun on the green lanes and trails at the weekend and the occasional camping trip? Is it to drive through Europe or to Moab a couple of times a year for a week or two?
Maybe you’re planning a more exciting and remote trip to Erg Chebbi in Morocco or to explore Patagonia in the austral summer. Or maybe you’re about to set off around the globe as a full time overlander.
Whatever your plans, do you know what the driving conditions are likely to be?
Will you drive on black top roads all the way? Will you want or need to take your vehicle off road? In sand or snow? Mud or rivers?
Will you travel in convoy or perhaps as a solo vehicle? Do you have the skills to fix your own vehicle? Are spare parts available on your expedition or road trip?
And do you really need a 4×4 campervan or will a 2wd meet your needs?
All these questions play a massive part in your decisions about modifying your overland vehicle.
If you don’t know the answers to these, you may end up dissatisfied, waste your money or not spend it on the right vehicle for your overland build.
Or worse, you may end up stuck because those shiny modifications weren’t what you needed.

Understand this and find the modifications needed to support your travel plans.
You can still go over and above, but being clear about whether you need a modification or just simply want it, at least puts you in control of your spending and tinkering.
I didn’t need a Unimog for 99% of our off road adventures but I certainly wanted one. I found myself needing it because I wanted to take the difficult route!
Keep your overland build as standard as possible
The more you modify, the further from the manufacturer’s base vehicle specification you move.
So what?
Well, if and when you need a repair or spares, the less likely you are to have your dealership’s support.
Once you start re-mapping engine computers, adding after market crawler gears, cutting panels in the body, changing axles and bolting on super extended suspension for mile high articulation, you will need to source the failed component part from a specialist dealer.
Using local people who can help get you back on the road quicker is a great way to get the necessary parts to continue with your travels.
It’s generally recognised in the long term, many modifications are more likely to fail than the manufacturers standard fittings.
If you’re planning on using your vehicle for overland expeditions, particularly outside mainland Europe or North America, sourcing specialist components becomes more difficult.
With an unmodified base vehicle, a local garage in dusty desert town in Morocco or deep in South America will help resolve an engine failure.
They’re familiar with stock Land Rover, Toyota 4Runners and Land Cruiser engines.
But ask them to fix a 2016 Toyota Tacoma TRD? “A what?”, they’ll ask, in their finest Arabic, French or Spanish.
Even with stock vehicles, we’ve had problems with the main dealers.
It seems not all vehicles have the same parts on different continents, but at least they could get the info to make a repair.
With a modified turbo and no access to the specialist supplier, you’ll need to contact your local bespoke manufacturer to arrange a courier and sit it out as you await its arrival.
To fit a snorkel or not
A snorkel isn’t the right name for this contraption. It’s a raised air intake.
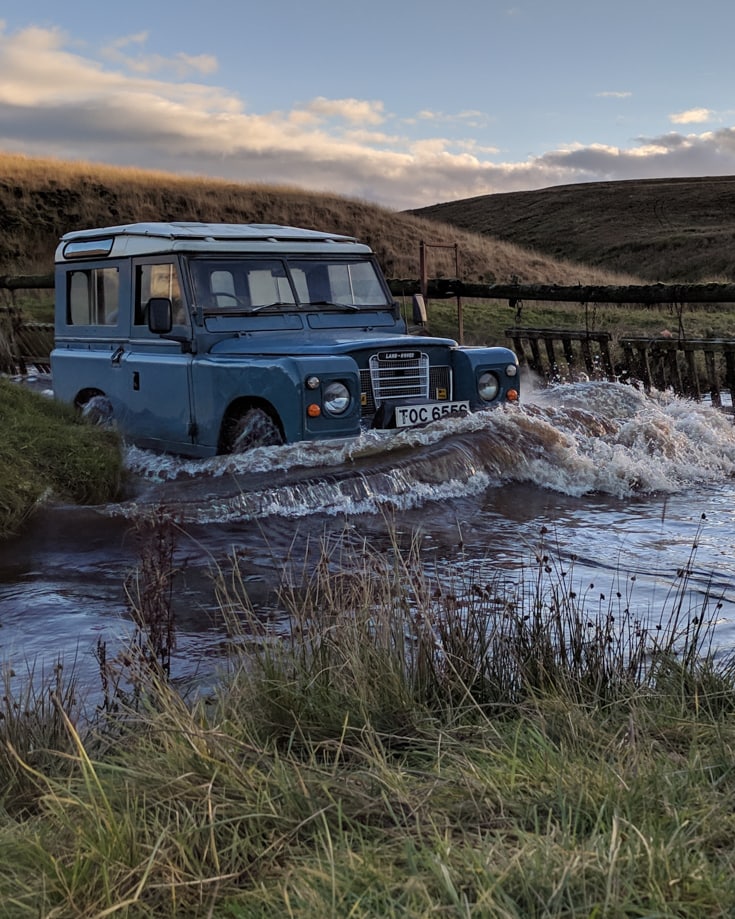
To call it a snorkel is to imply its main function is to help you drive through deep water. Wrong!
Avoid driving through deep water, with or without a raised air intake.
Sure you’ll get through with one fitted, but a few days, weeks or month down the line, you’re going to have a few more problems because of your paddle.
The main purpose of a raised air intake is to minimise dust getting sucked into your engine. As the standard air intake filters are fitted near the front wheel arches, they’re in prime position for inhaling loads of dust and dirt from dry tracks.
By putting the intake high above ground level, the engine is protected from most of the muck. Many air intakes are fitted so the ram scoop faces forwards.
If you drive in dusty conditions, make sure to turn the scoop around to face the back of the vehicle. This will stop you forcing dust and dirt into it as you drive.
Watch your waistline! Don’t pile on the pounds
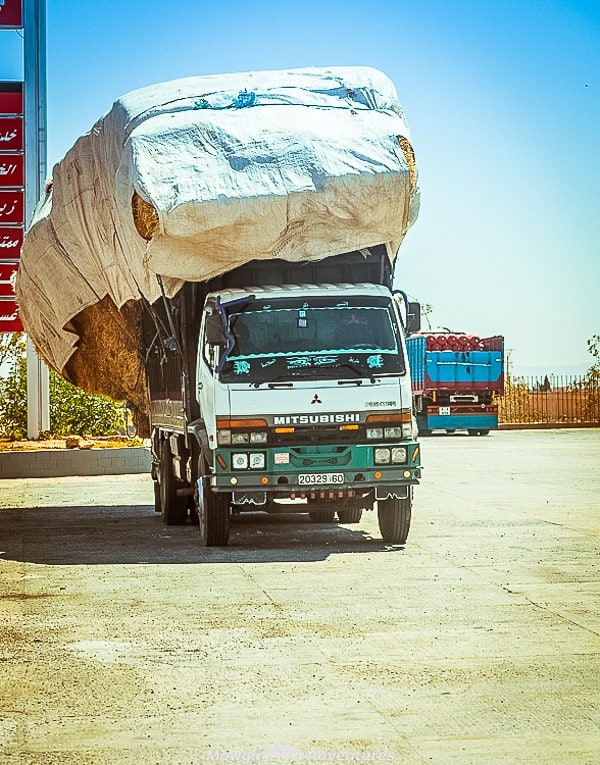
Most overlanders never weigh their vehicle. Suffice to say, your kerbside weight is increased when fully loaded.
Your trip may require camping gear, zarge boxes of supplies and clothes, tools, extra fuel, plenty of water, your driver and passengers and of course any souvenirs your pick up on your adventure.
Adding winch bumpers, boxed rear bumpers, roof racks, storage boxes and rock sliders further increases your vehicle’s overall weight.
The heavier the load you’re carrying, the more the fuel mileage will be affected. This will also limit your speed as well.
Key components are strained to a greater degree; half shafts break more often and clutches wear more quickly.
Handling becomes less predictable and makes the vehicle less capable off road. Think about your overall weight when considering any modification.
Balance your weight
It’s accepted for a long trip, you will carry more weight than when under normal daily driving conditions.
Locating the weight in the optimum position will minimise the overall impact. Without getting into the physics of it, your objectives are to position the weight:
- low to the ground, to keep the centre of gravity as low as possible
- between the 2 axles, to share the load equally across both axles and suspension
- spread evenly along the centre line of the vehicle, to help stability on extreme terrain
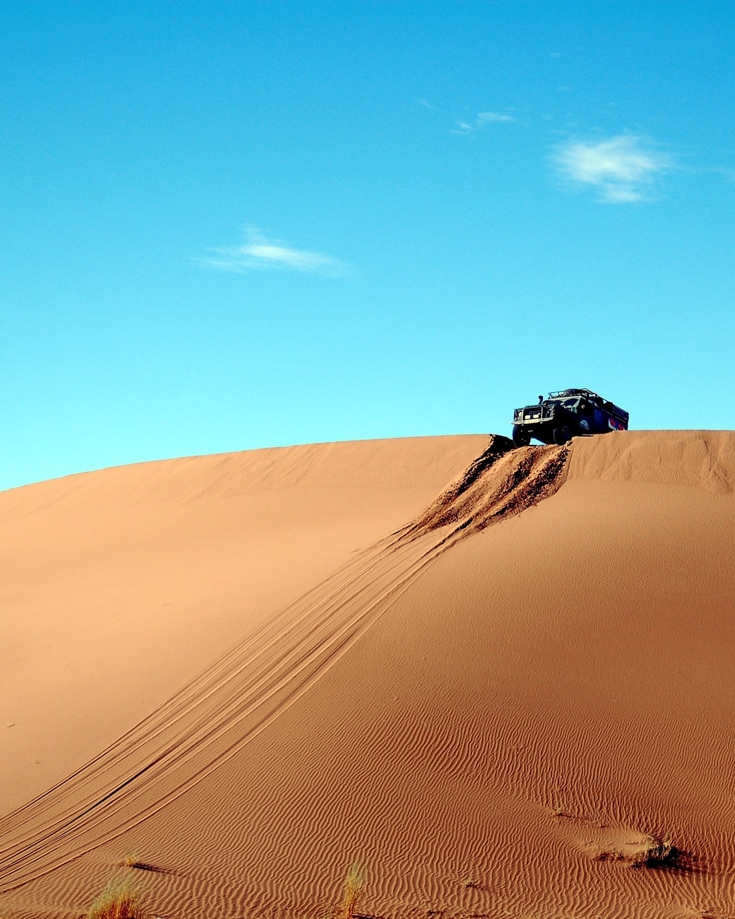
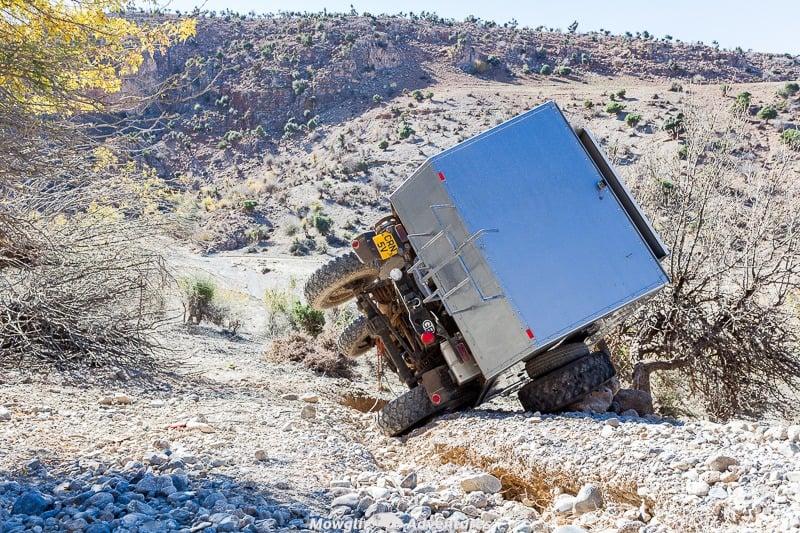
With too much weight in the back, on steep descents the rear end of the vehicle will follow gravity, pushing the vehicle to the side.
It’s not much fun going down a 100m sand dune sidewards; you will roll.
Too much weight on the roof may lead to you tipping over on sharp bends, more so on steep slopes.
With too much weight on the front, on heavy breaking the vehicle will lunge dangerously. No fun when trying to avoid a pot hole the size of a small lake at speed.
Vehicle modifications for your overland build
With those considerations in mind, what modifications are suitable for your overland build?
For a camper van conversion, the same thought process applies.
Use our guide to choose the best van for your camper conversion and our buying a campervan guide so you don’t buy a lemon.
Then follow the advice in this post before you make any modifications to it.
Overland vehicle modifications are available for virtually every conceivable part, moving or fixed. Here are a few of the key ones.
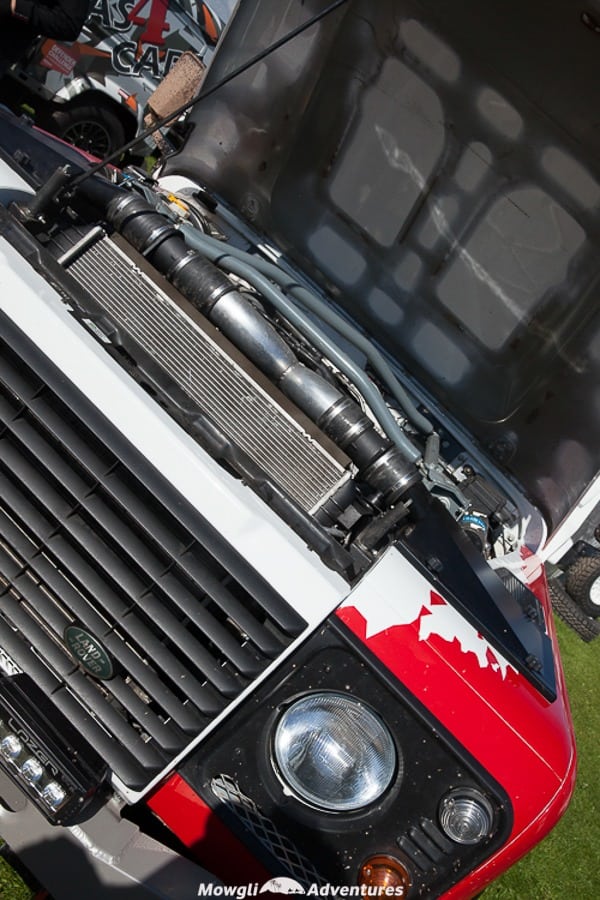
Sensible suspension upgrades
Having established your overland vehicle is heavier than normal, fitting heavy duty springs and shocks is a sensible modification.
Ideally use the manufacturers own heavy duty springs and damper set ups.
There are some well known Australian and South African brands for dampers which are a safe investment too. Quality over quantity is the best advice.
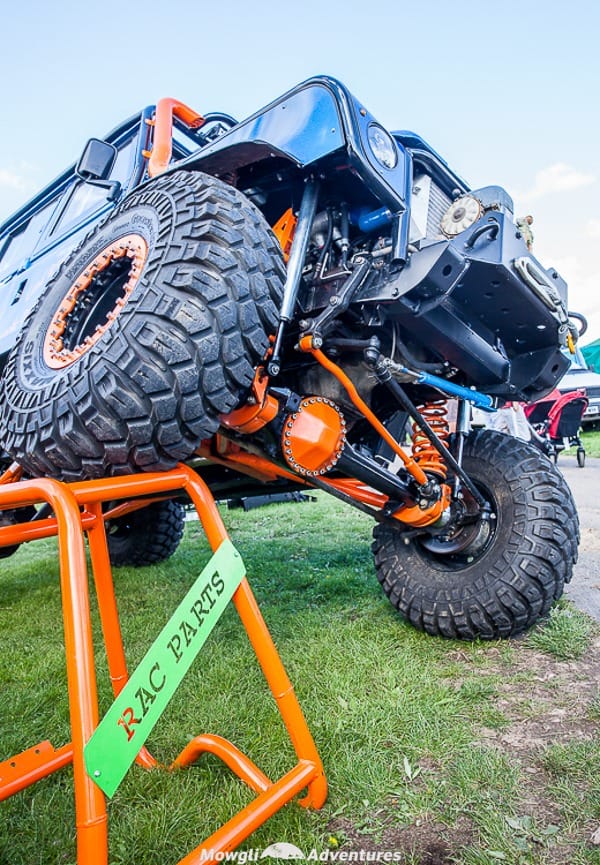
This picture shows a highly versatile suspension modification. If you have a broken spring or a leaking damper with this set up, bush repairs become difficult.
Changing the suspension on your vehicle means it’s important to remember that heavy-duty suspension may provide lift to your vehicle, but it’s not going to change the ground clearance.
You’d need to think about extending brake pipes, breather pipes, drive shafts and so on. It will cause heavier wear on your prop shaft & universal joint bearings.
Worst of all, it will cause the vehicle to become more unstable due a higher centre of gravity.
Off-road tyres & wheels

All terrain tyres from a good manufacturer are they way forward. Cooper Discoverer or BFGs ATs are a safe choice for most.
They’ll give you a good compromise between mud, sand, snow and tarmac and so the most versatile.
It’s a good idea to increase the tyre’s radius from the standard fit as it will give you a greater side wall depth. This will benefit you in a number of ways:
- a larger tyre will give your vehicle a greater footprint; particularly useful in mud, sand and snow on low psi
- provides greater protection to the wheel rims on uneven surfaces; this is useful when driving across rocky terrain
- your ground clearance will marginally improve
- you will benefit from a slight increase in your cruising speed.
Check an increased tyre size will not foul the body work when you are fully loaded. Also check how easy it is to get the tyre size whilst on your travels.
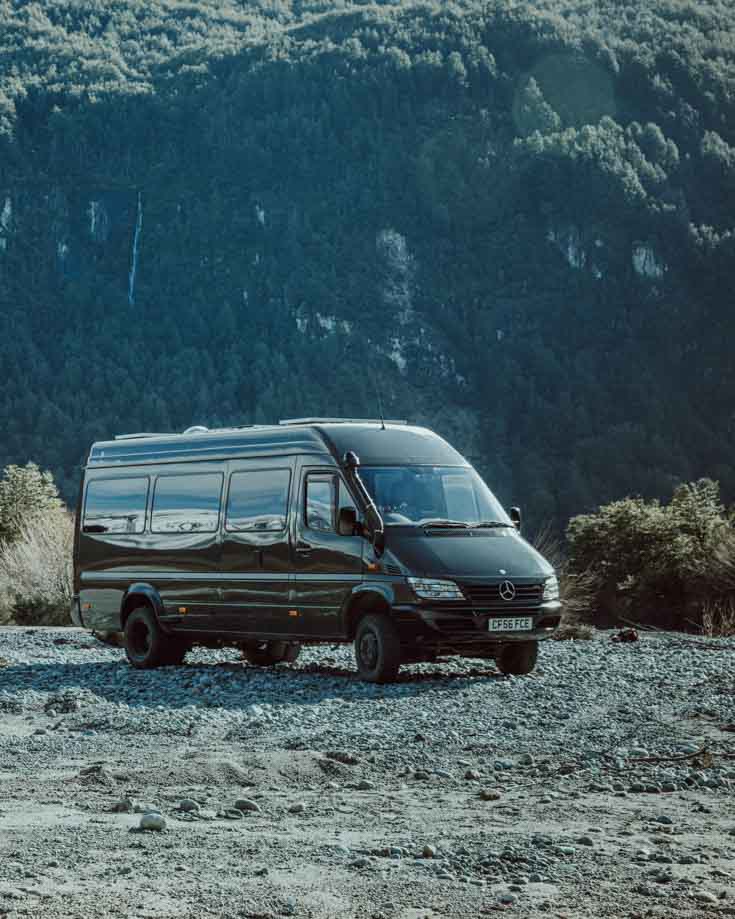
On our latest overland build we chose to keep the tyres sizes as Mercedes Sprinter standard. It also meant we could source them everywhere.
Alloy wheel rims always look smart and generally weigh less than steel rims. However, they are difficult to repair if you bend the rim.
Sometimes you’ll let the air pressure down and this reduces the distance between the ground and the rim. Hit a rock and you’ll damage your wheel, probably breaking the tyre seal.
To repair this, you’ll need to hit the wheel with a hammer to knock it back into shape. An alloy will not stand up to this treatment.
A steel rim will. It’s not balanced, but will allow you to continue until you find a wheel repair shop. When it comes to your wheel rims, carrying the extra weight of a steel wheel is far more advantageous than the lighter alloy option.
Onboard air compressor
For off road driving, you may need to change tyre air pressures quite often, some times even within a few metres.
An air compressor capable of quickly inflating and deflating tyres will make this manageable. A quality air compressor that can quickly cope with this heavy demand is a must.
Many are tempted to install an onboard air compressor and compressed air storage tanks. Some vehicles have this as standard, but for those that don’t my advice is just carry a portable unit.
That way if one in the convoy is stuck you don’t need to try and manoeuvre another vehicle to get close enough with a hose. You can just walk across and avoid getting stuck too.
Don’t forget about your spare wheel
Most vehicles have their spare wheels factory fitted underneath the rear end of the rig. It’s tidy, out of the way and easy to access. If you’re on tarmac!
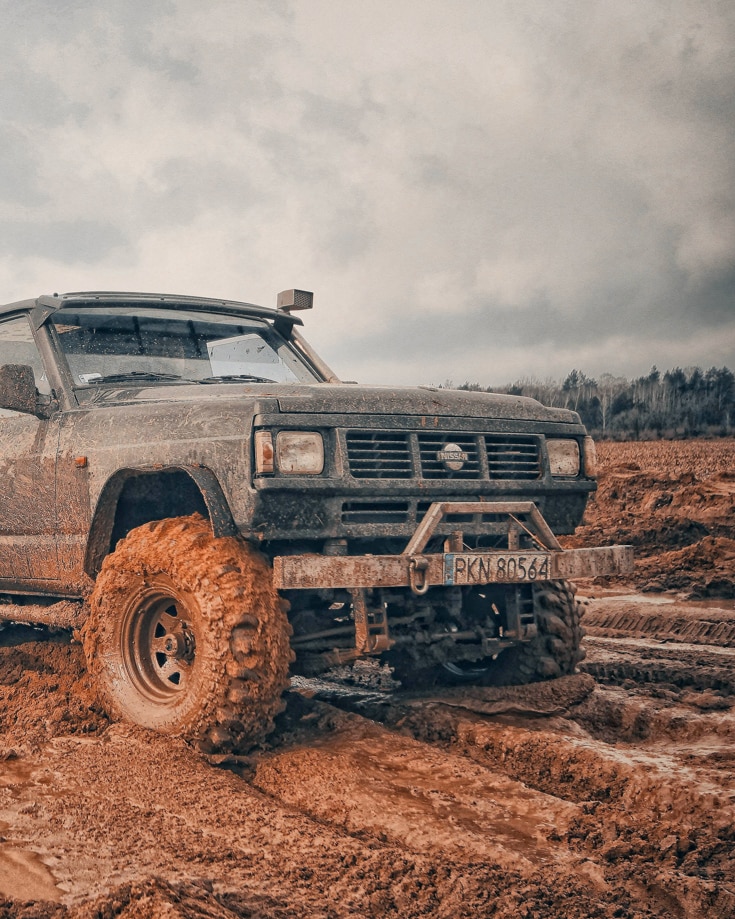
But if you get stuck in sand or mud, you have little to no chance of getting at the spare wheel.
The first modification we’ve made to our Sprinter camper, Baloo, is to move the spare wheel to the back door. Next time we get stuck in a not so dry lake and need to winch off the spare wheel to get us out, we’ll have no bother accessing it.
A lot of overland vehicles carry at least 2 spare tyres, one with a hub sometimes the other without. I’ve never needed 2 spare tyre ever so only carry one.
And another word of warning, even 4×4 trucks straight out of the showroom are sometimes fitted with a space saver instead of a proper spare.
Check before you drive into the desert! And yes, those are the words of experience!
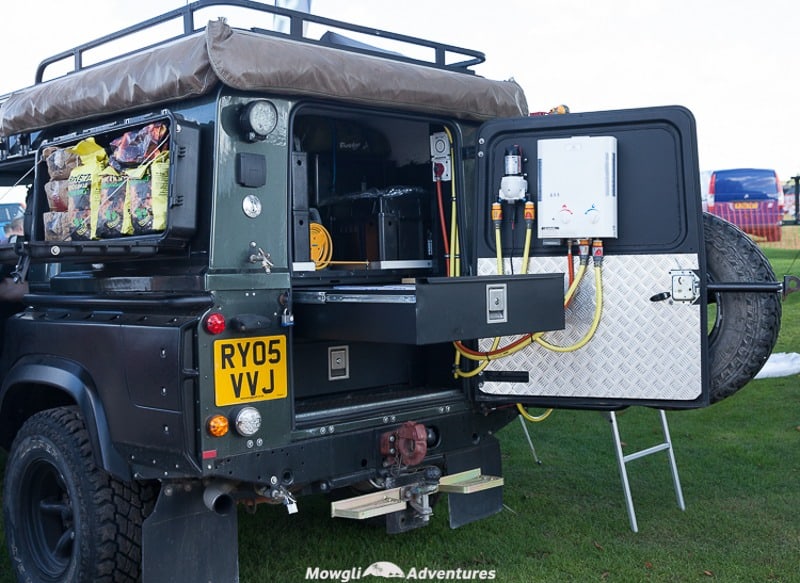
Keep electrics simple

Overland electrics can become a major modification in their own right.
To power a range of expedition gear such as laptops, cameras and your navigation equipment you need to make some modifcations.
To avoid draining your main starter battery and causing a potential fire hazard, you need to keep all additional electrics and electronic modifications separate.
Do so by installing a dual campervan battery set up with its own alternator or an intelligent split charge relay. Use high quality marine grade components which are ideal for the potential extreme conditions you will encounter on your overland adventures.
Sizing your auxiliary system is based on the load you require, so you need to understand the demands each appliance has.
Ask yourself if you really need the 1000 watt light bar. Afterall night time driving is cardinal sin for overlanders.
Extended fuel tanks

On some long trips getting fuel can be a challenge. There’s often a desire to retro fit extended range fuels tanks or even duel fuel tanks with switch over valves and gauges.
If you’re unlikely to need it though, do you really need to install extra complexity, weight and load space loss?
A few extra jerry cans properly strapped down in the load bay and between the axles is a simple solution.
You can easily share extra fuel between other vehicles if you’re travelling in convoy.
Factory fit vs Retro fit
Some overland vehicles, such as Toyota Landcruisers have extended fuel tanks as a factory fit option but a retro fit needs planning and work.
A suitable size tank needs to be sourced. Fuel piping and solenoid valves need to be fitted to prevent cross contamination of dirty fuel.
And if you damage one tank, you want to make sure its isolated from the other so you don’t lose all your fuel. You may even want to fit gauges to keep an eye on fuel levels.
Running empty will most likely need you reprise the fuel system. Of course, you could take the simple solution and fit a simple hose so allowing you to decanter into the main fuel tank.
Our Unimog expedition camper had 2 fuel tanks. One had a 160 litre capacity, the other 400 litres. We had a simple hose to decanter from one to the other.
Even so, we still carried a spare jerry so we have a small stash of clean fuel and a lightweight container, should we even need to walk to the garage for a refill!
As a side note, 400 litres of fuel amounts to another 400kg of weight so we usually ran the large tank empty. We only filled it up when economic to do so or if we thought getting fuel further down the coast in West Africa would become challenging.
Update June 2019: this is still wise advice. Advice I chose to ignore on my latest 4×4 sprinter build. I added an extra fuel tank, breaching the standard fuel system.
This introduced a weak point which failed when were at 4000 metres above sea level in the high High Andes. Not good!
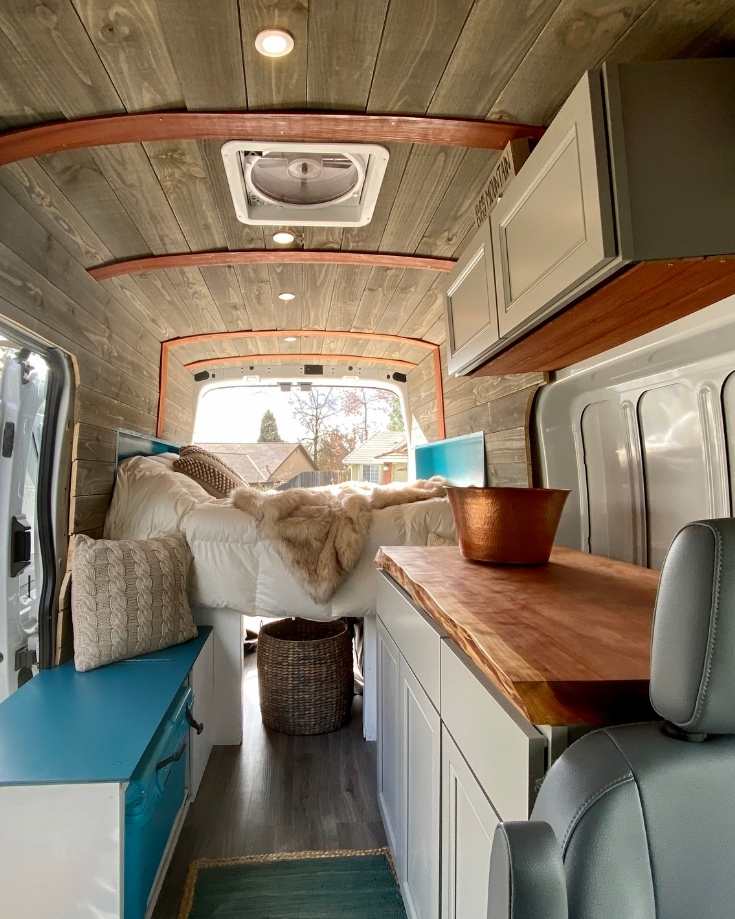
Storage: drawer systems or go commando?
The choices for storage arrangements are endless. From totally flexible options of removable boxes, fixed storage units, drawer systems and everything in between.
As well as your organisational needs (I’m somewhat OCD and need structure in this space), there are weight considerations.
If you choose removable storage boxes, you’ll need to strap them down so they don’t dangerously move around whilst you’re on the move.
The best advice if you’re just starting out is to go with removable storage boxes. You’ll set yourself up and within a week or two of an overland journey, you might feel dissatisfied with your configuration and want to improve your layout.
You can’t change your set up if you’ve invested in fixed storage systems upfront, or at least not a cheap one.
The storage modification above, although very neat and structured, actually loses you load space and it reduces your flexibility for carrying extra passengers or supplies.
Find out what works best for you in a real life situation before you invest heavily.
On our latest overland build we use a racking system to hold 11x 20 litre boxes and it works for us. Over the last year we’ve swapped around boxes to suit our every day use.
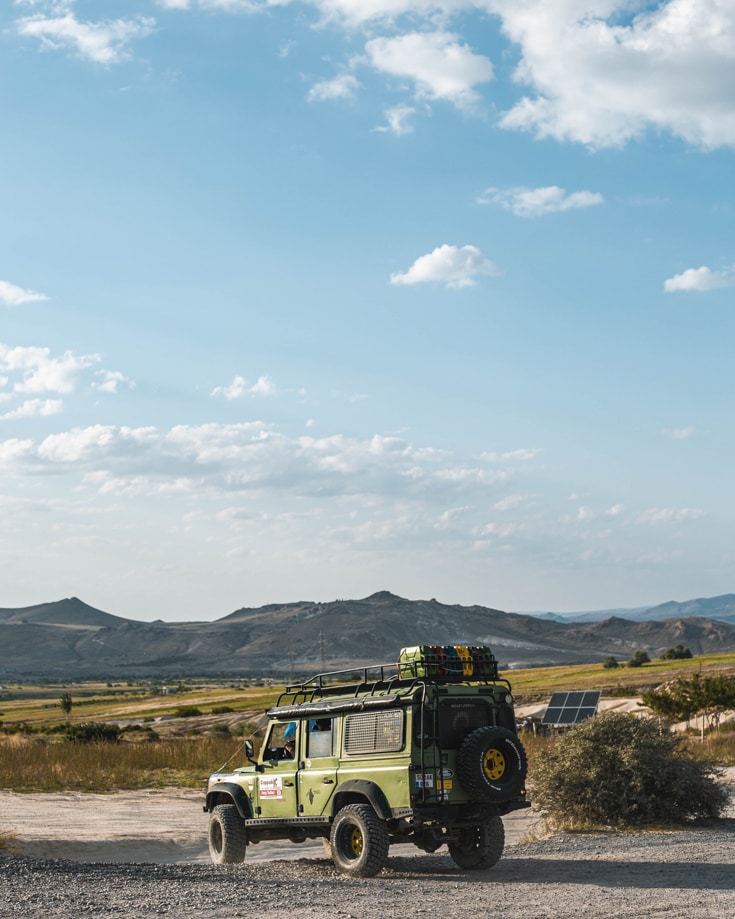
Overlanding roof racks
Given the weight distribution considerations, if at all possible avoid roof racks. However, if you want or need a roof tent, you have little choice.
Don’t give in to the temptation to put fuel cans and more storage boxes up there as well. A roof rack can weigh 60 kgs and a roof tent about the same.
Add a spare wheel, jerry cans and a box or two and you’ll soon have significant weight on top of the vehicle. It will become more unstable to drive with a higher centre of gravity.
Vehicle spares
Choose the spares you carry wisely. You need oils, fan belts, filters, bulbs, fuses and a sensible tool kit.
You’ll also need to carry any critical after market equipment spare if they’re not available from a world wide spare parts network.
Tools

There’s no point carrying the tools and parts for say an engine block rebuild or a gearbox strip down. You’re unlikely to need to do this in the bush.
I can see a chance you might go as far as a head gasket repair maybe.
If you’re travelling in convoy, organising who is carrying which spares is a sensible approach to save on the collective weight and storage needs.
When I’m doing an overland build, I keep a box near by and put all the tools I regular use. I also include any “one of” tools or manufacturer specific tools for regular maintenance. This becomes my overland tool box and I never leave home without it.
Security for your overland vehicle

You’re going to be travelling with all your worldly belongings and some pretty expensive equipment. Cameras, laptops, GPS, cash to name just a few and you need to consider the security in your overland rig to protect these.
Your list of overland vehicle modifications should at least consider your security.
We fitted Garrison deadbolts to our Sprinter van to give an extra layer of security to the flimsy standard locks its fitted with. This should make breaking into her more difficult for any would be intruder.
Vehicle security for your contents
Think about fitting a discrete safe to store your cash and passports and have colour photocopies at hand instead of the originals.
Window tints also help keep prying eyes off the contents, but in some places tinted front windows are illegal, so consider if they’re worthwhile.
Grills can be fitted to windows for extra security too. But weigh this up against your personal safety. You may need to escape through a window in the middle of the night for example.
In any case keep valuables out of sight.
Immobiliser
Fit a kill switch so if someone does try to steal your vehicle it’s difficult to start. Extra door dead locks are sensible as are security alarms.
If you fit dead locks to the doors, make sure you can open them from inside in case of an emergency! You don’t want to get caught inside if a fire breaks out in the cabin or you’re sinking in a river crossing .
Remember it could go walkabout if it’s not locked, bolted down or chained up.
Invest in your skills

With your modified overland vehicle completed you’re ready for your adventure. Or are you?
A great overland vehicle, all kitted out to your desires and modified for the terrain you’re expecting isn’t much use if you don’t know how to use your gear.
Overlanders have a tendency to avoid risk on expeditions, at least uncalculated risk.
Knowing how to avoid getting into a predicament is more important than knowing how to get out of one.
Off road driving training

Watching videos on Youtube might make off road driving look easy but it’s pretty serious stuff.
If you don’t know what you’re doing, you’re risking your life. Quite literally.
Driving off road for the first time in a remote area of a land foreign to you, is downright crazy. Make sure you invest in your driving skills.
Whether through an organised professional training school, or attending recognised club weekends, you must know how to drive off road in the relative safety of your home country.
Be confident you know how to avoid rolling your vehicle, splitting tyres and driving on the kind of terrain you are expecting.
Many people will also invest in mechanical training and carry out all their own vehicle maintenance. It’ll save you a fortune on the road.
For your first overland adventure, avoid going it alone.
Joining others with significant overlanding experience will help boost your confidence, give you hands on experience and back up support should you need it.
Learning self recovery
We all get stuck at one point or another. Usually through driver error, at least in our experience. Regardless, you must know how to self recover. There won’t always be help nearby.
All your overland vehicle mods and fancy self recovery equipment are useless if you don’t know how to use them.
Someone could end up seriously hurt because you took a risk based on a false sense of security.
- Know when to reduce your tyre pressure and to what level
- Learn how and when to use your sand mats
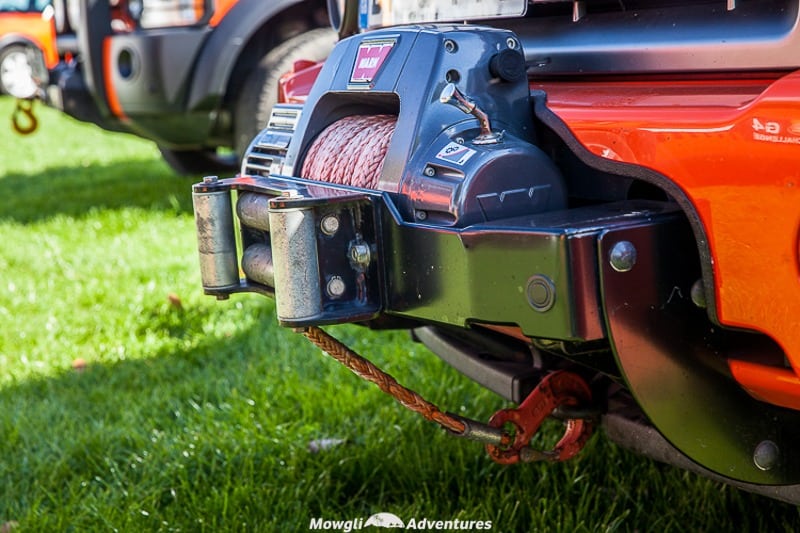
- Use your winch in a training environment before you need it for real
- Learn how to recover yourself if or when your winch electrics fail (i.e. your winch won’t work and your lift jack is your only alternative)
- Know how deep to dig your spare tyre into sand or mud to pull your vehicle out
- Know when to stop and turn around.
Learning how to self recover you and your vehicle before you set off, coupled with your new found driving skills will put you in good stead to have a safe and exciting adventure of a lifetime.
Less is more
Overland vehicle modifications are always compromise. The really experienced overland and expeditions leaders are trying to reduce their modifications. At the end of the day, it’s your vehicle and how you use it is up to you.
For all overland vehicle modifications, the question is… will you focus on your vehicle or on your adventure travels?
Graham Bogie

Graham is a seasoned marine electrical engineer with two decades of experience designing customized electrical systems for plant machinery and converting campers and overland vehicles. His expertise has led him to author the reputable Campervan Electrics Handbook and become the chief designer of the RV Wiring Design Tool. As a knowledgeable figure in the field, his YouTube channel, blog, Facebook group, and newsletter, offering electrical advice and product reviews, reach more than a million users each year.
Love reading your articles, simple, common sense advice. I often quote and recommended you when talking to would be van converters and overlanders. Currently driving a Defender 130 ambulance conversion.
I have been laughed at for carrying to much while hiking only to wake in a sweat while others were shivering. I have often times carried things I never used and even more often used, donated or loaned items to others without which they would have been miserable. When I began exploration an old man told me to pack (1) gallon of water and (2) chocolate bars and keep within (4) hours of home, best advise ever. I learned that chocolate melts and I must carry more than (1) gallon of water. The point here is to get in the vehicle and increase distance as you better understand what you need. Many of the things I thought I needed I didn’t and many items I never considered are important to a persons survival. Excellent article, L.
One of most sensible articles I’ve read regarding upgrades. Good job.